


Fried Chicken
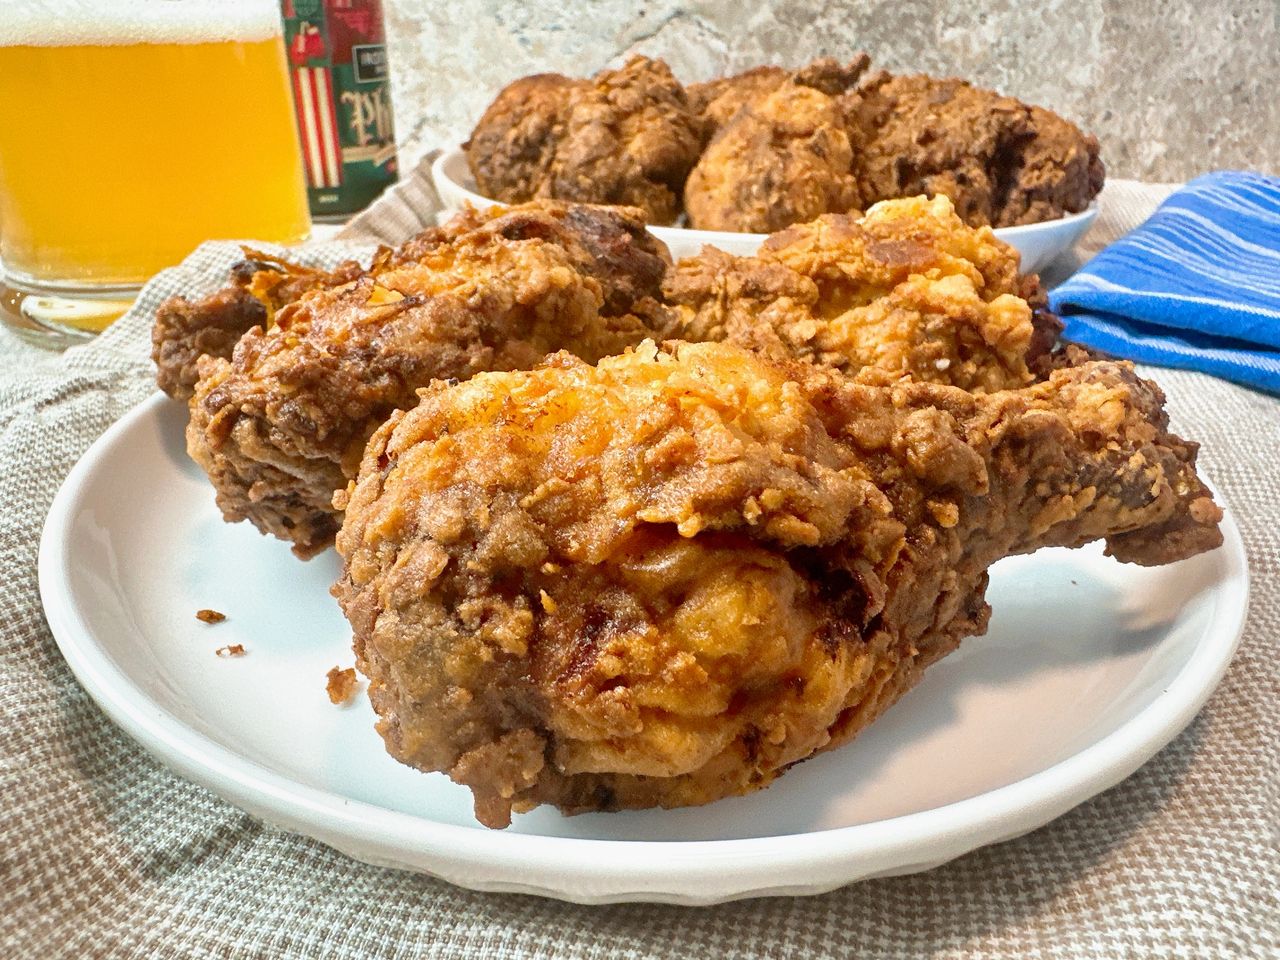
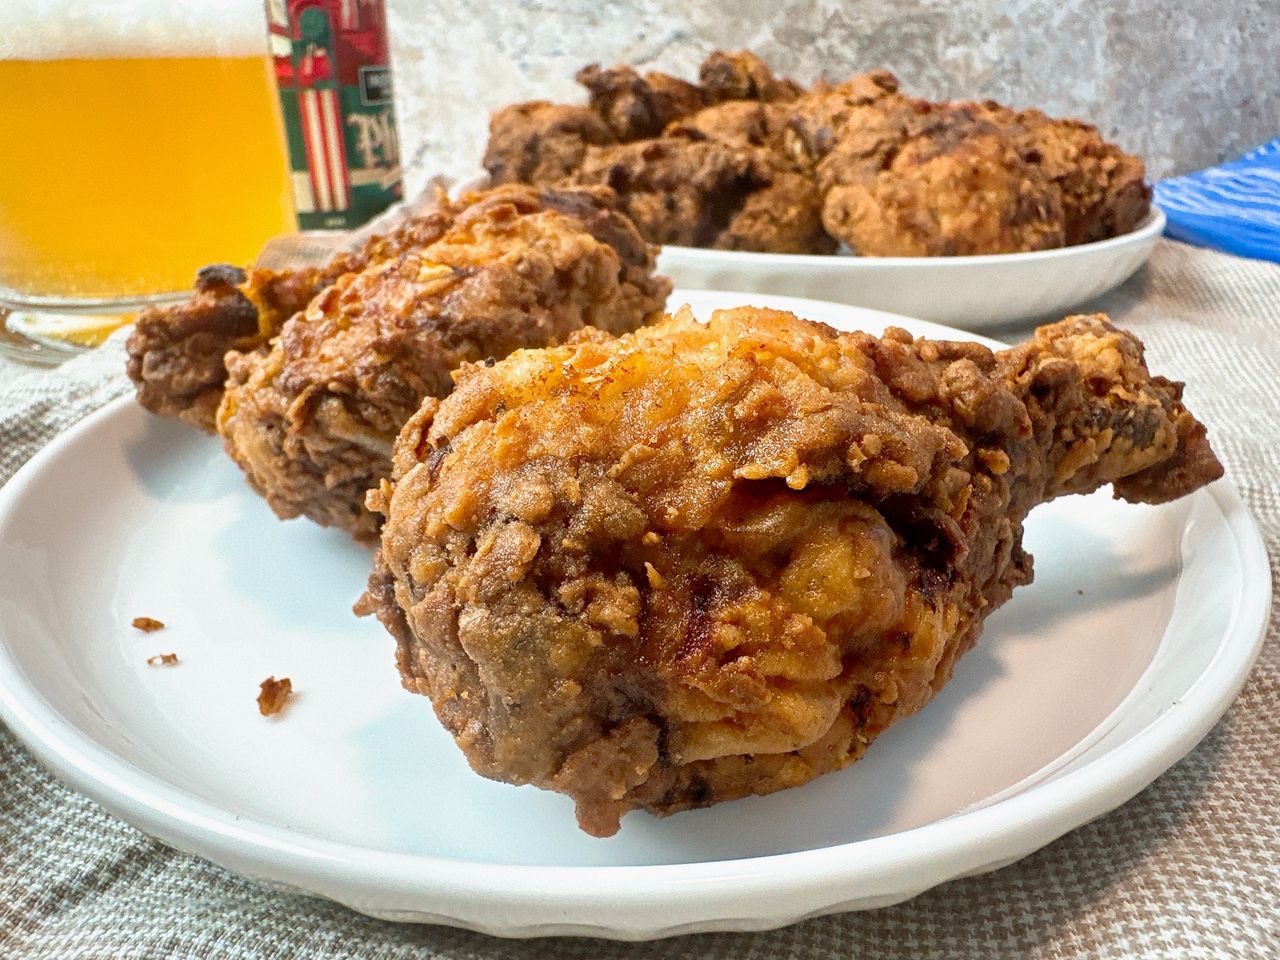
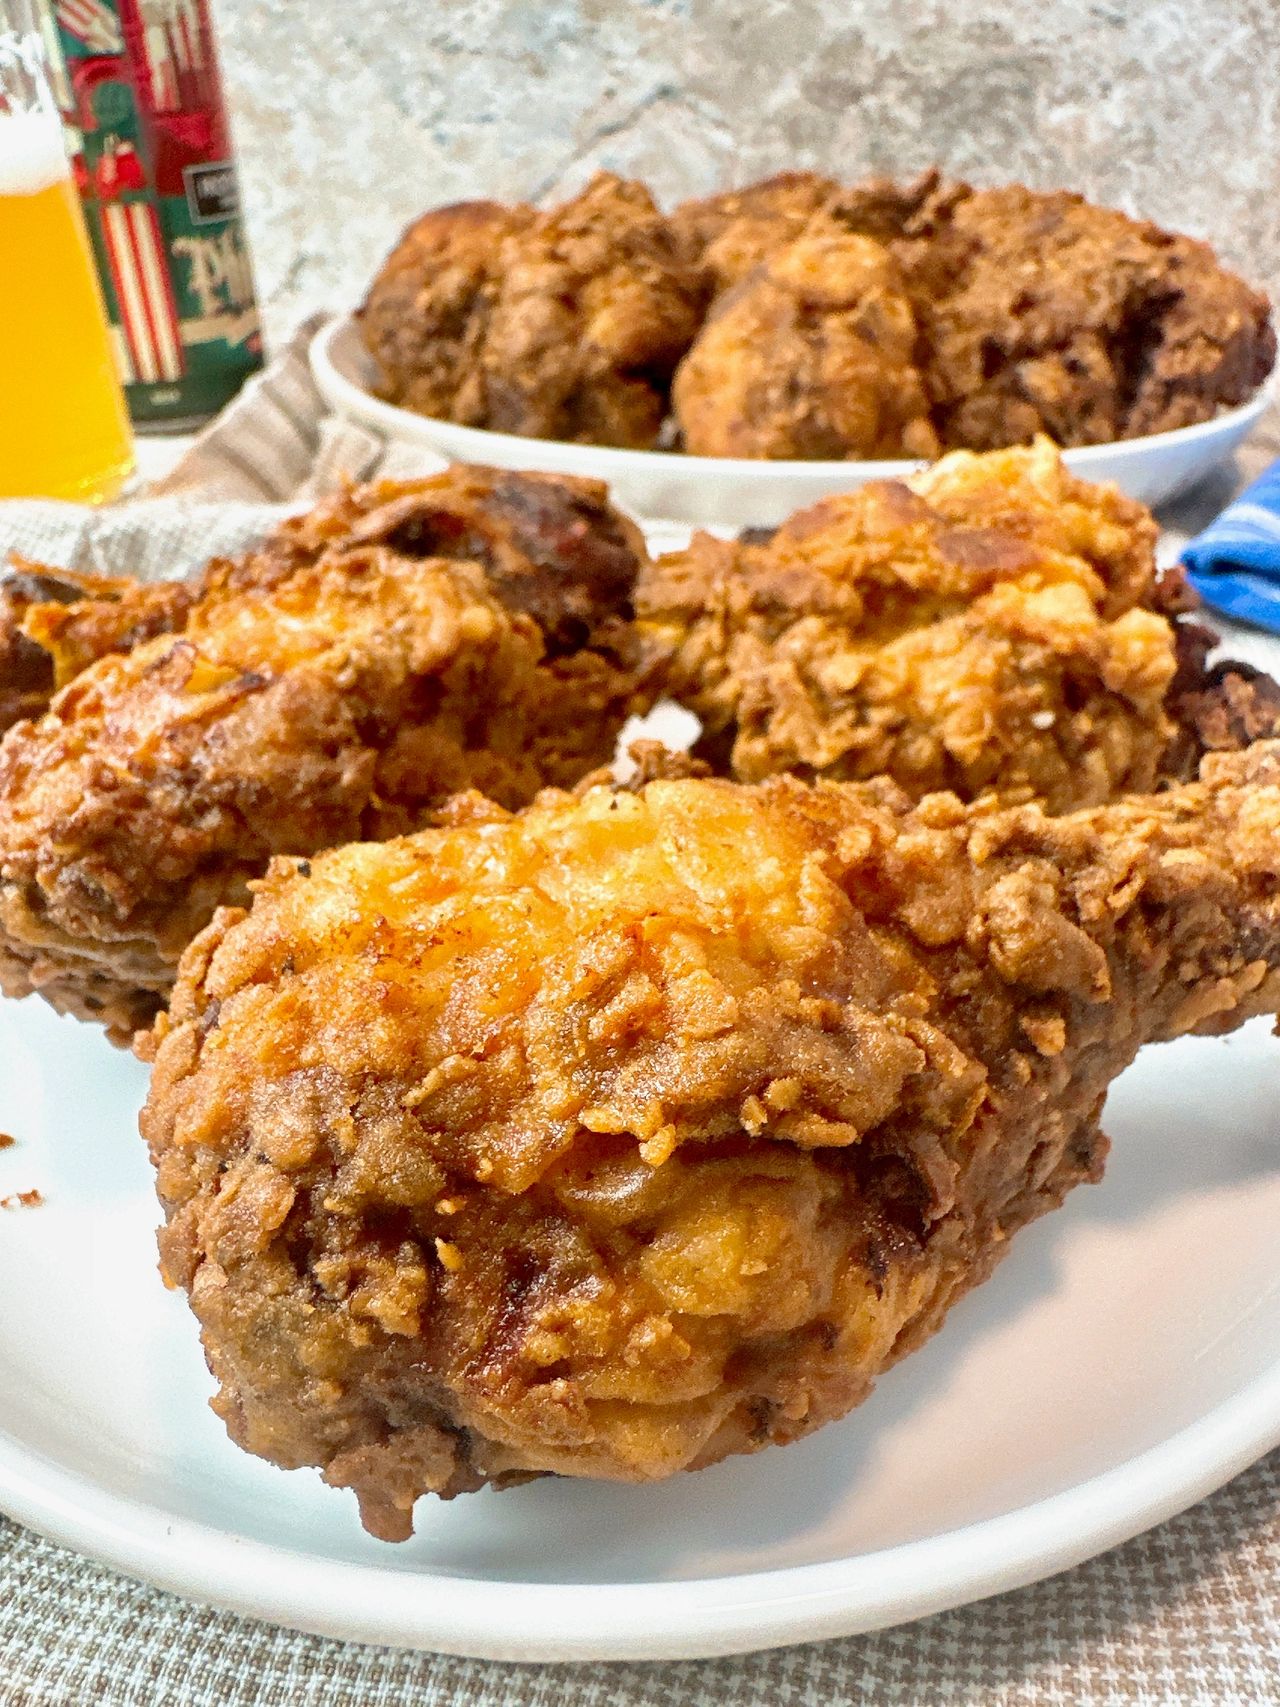
This perfectly cooked chicken delivers tender, juicy meat under a crispy, golden-brown shell. Thanks to a simple brining process, and a well-seasoned dredging, this fried chicken is infused with flavor – from the crunchy, nuggety exterior, to the fork-tender, moist meat. Quite possibly the best fried chicken you will ever eat.
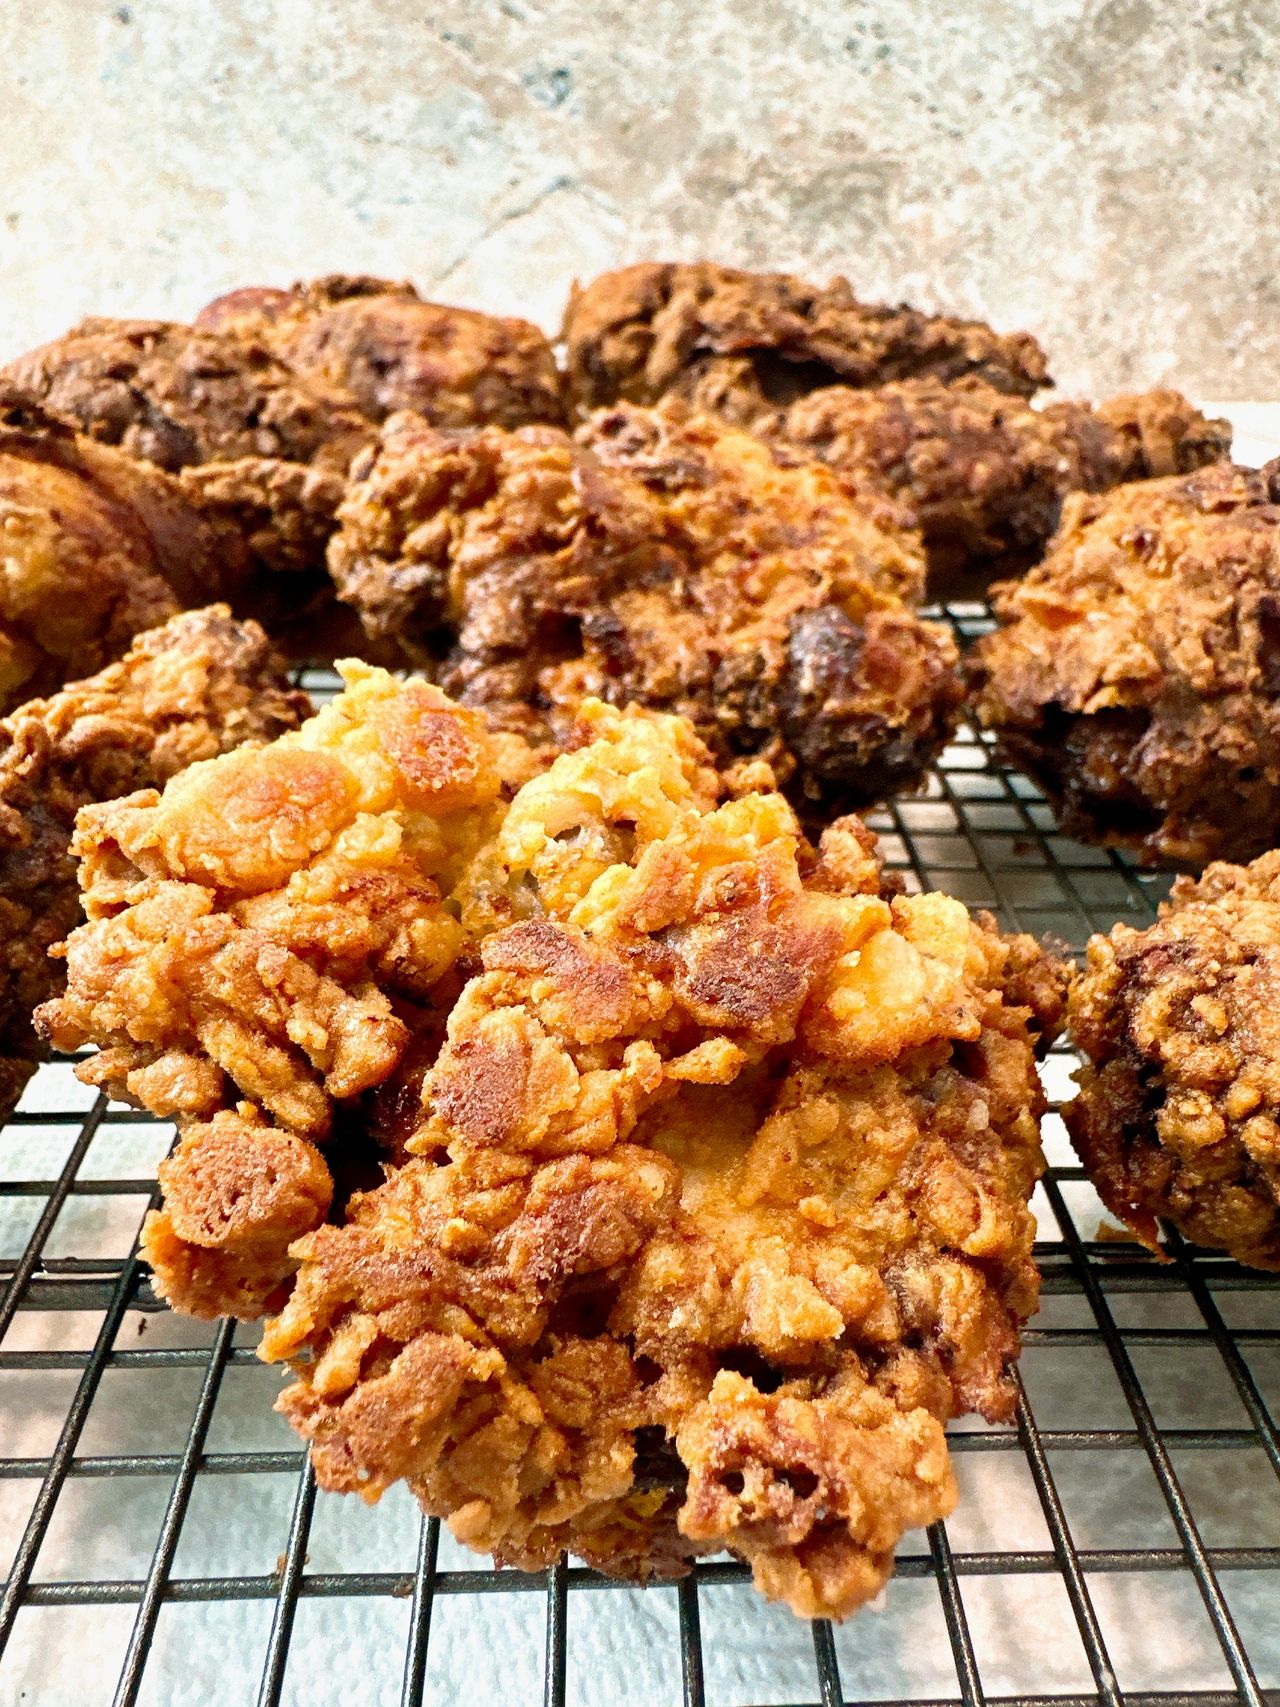
This recipe was written for the Arizona Republic.
This fried chicken recipe is foolproof too! If you’ve been dodging fried chicken recipes for fear of lackluster meat (or the mess), take note. In this recipe, we brine the chicken in salty, seasoned buttermilk to ensure the meat is ultra-moist after frying. Plus, we use additional seasonings in the flour coating, which guarantees depth of flavor in every crunchy bite. Simply follow the instructions below, use a meat thermometer and deep, heavy pan (like a Dutch oven), and you can enjoy flawless fried chicken with ease. I promise you will be the fan favorite wherever you serve this chicken.
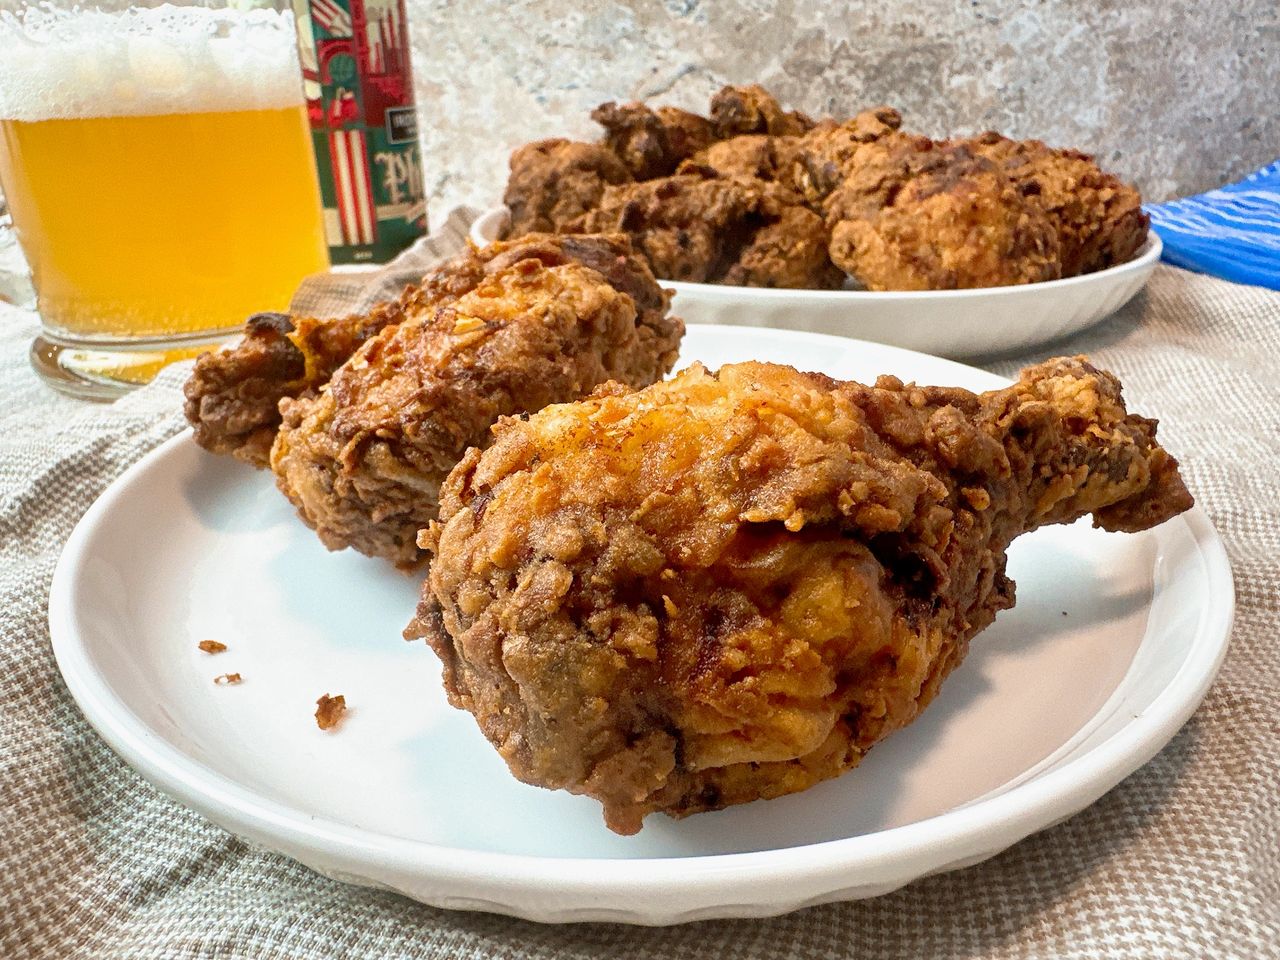
Don’t skip the buttermilk brine. The first step in this recipe involves brining your chicken in a mixture of buttermilk, salt, and seasonings, and each ingredient has a purpose. First, the lactic acid in the buttermilk breaks down the proteins and collagen in the chicken, which creates ultra-tender meat.
Make sure to pierce the chicken pieces with a fork to allow the brine to penetrate deep inside.
Second, the salt in the brine softens the proteins in the meat’s muscle structure, which helps the chicken retain moisture as it cooks. Fact: Brined chicken loses 30-40% less moisture than un-brined chicken. Note that brining takes a little time; allow 2 to 4 hours for the chicken to soak (you can also brine the chicken for up to 24 hours, making this a great prep-ahead dish). The last ingredient in the brine is cayenne pepper; there’s just enough to enliven the brine with flavor, but not enough to add a definitive amount of heat.
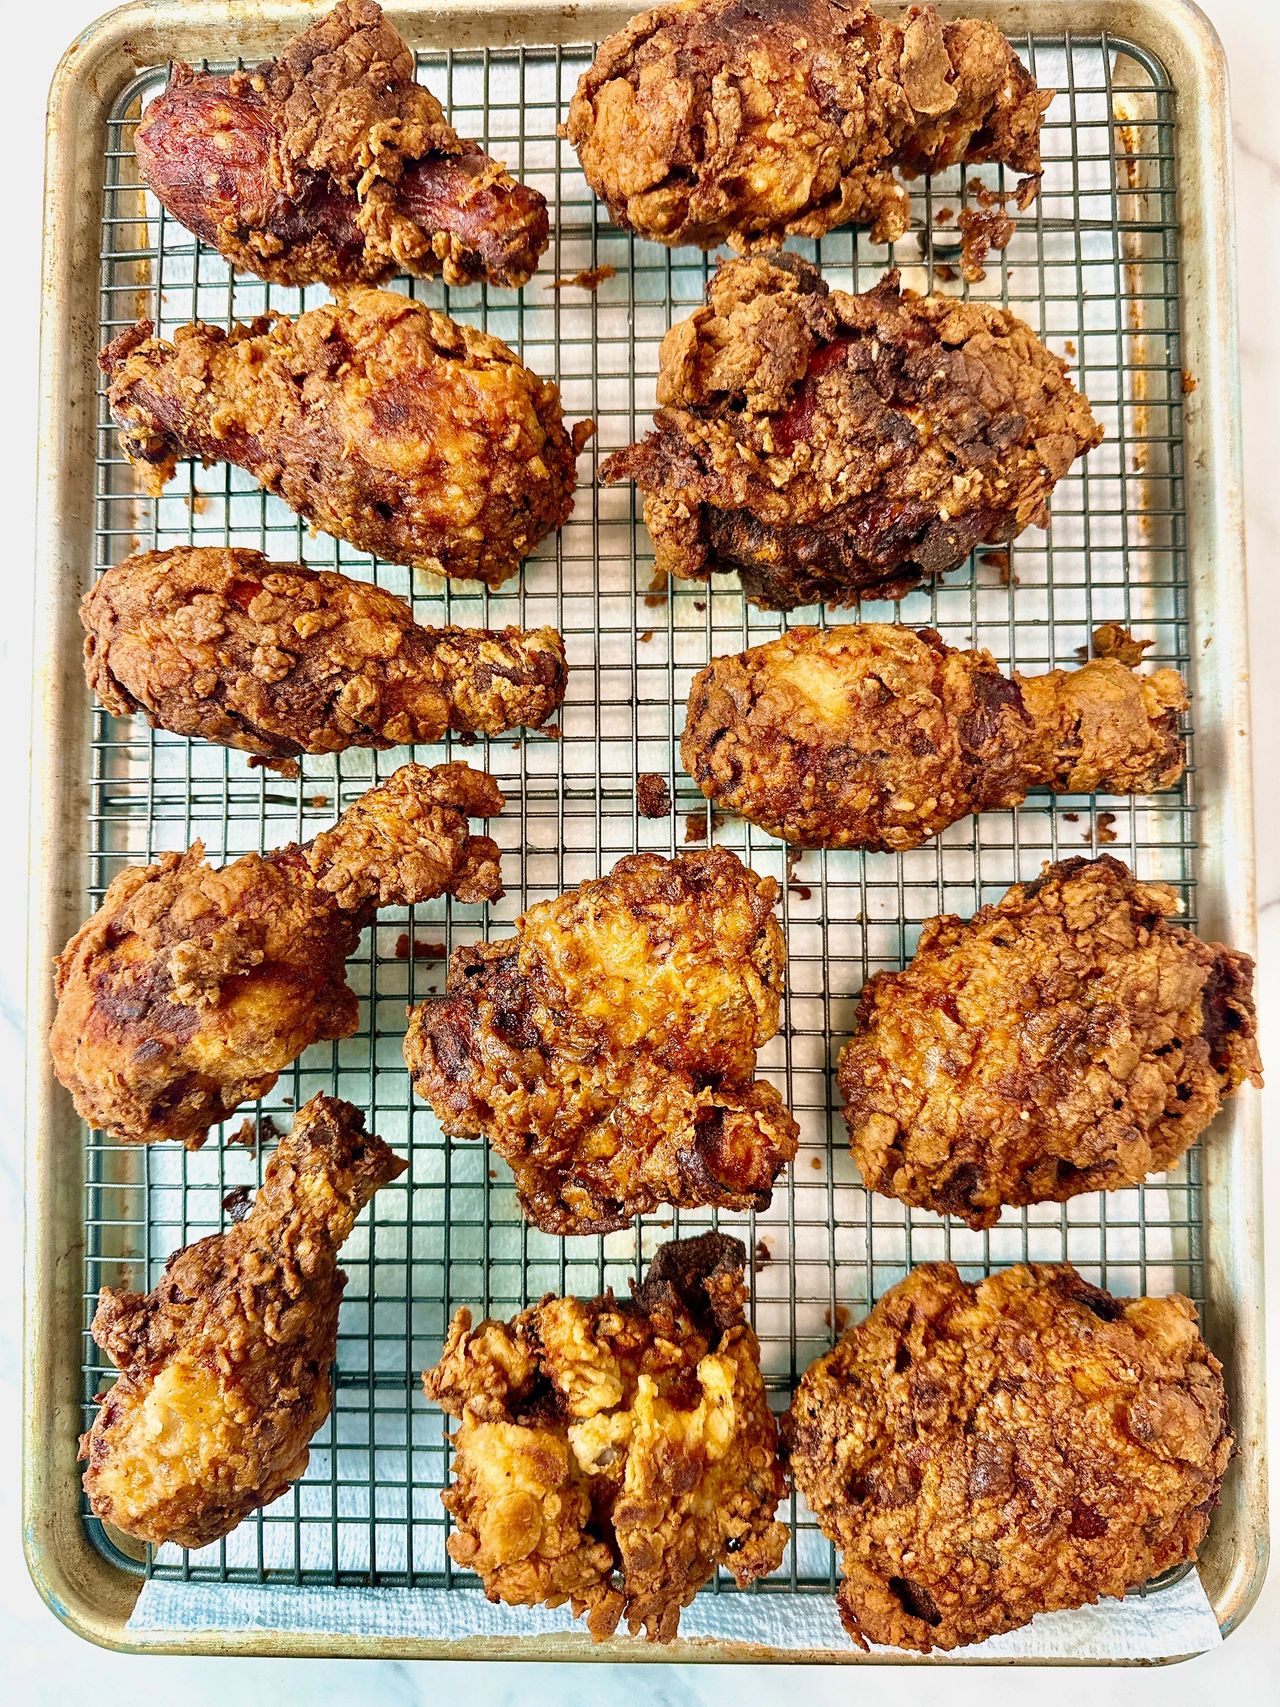
Spike your flour mixture with cornstarch and baking powder. Trust me on this. Use plain flour when coating your fried chicken and you’ll be missing out. In this recipe, we add cornstarch and baking powder for crispy chicken excellence. It all comes down to science. Adding cornstarch prevents gluten development in the flour, which creates a crunchier coating. And baking powder’s slight alkalinity raises the pH of the chicken skin, which in turn, helps it break down more quickly and crisp up.
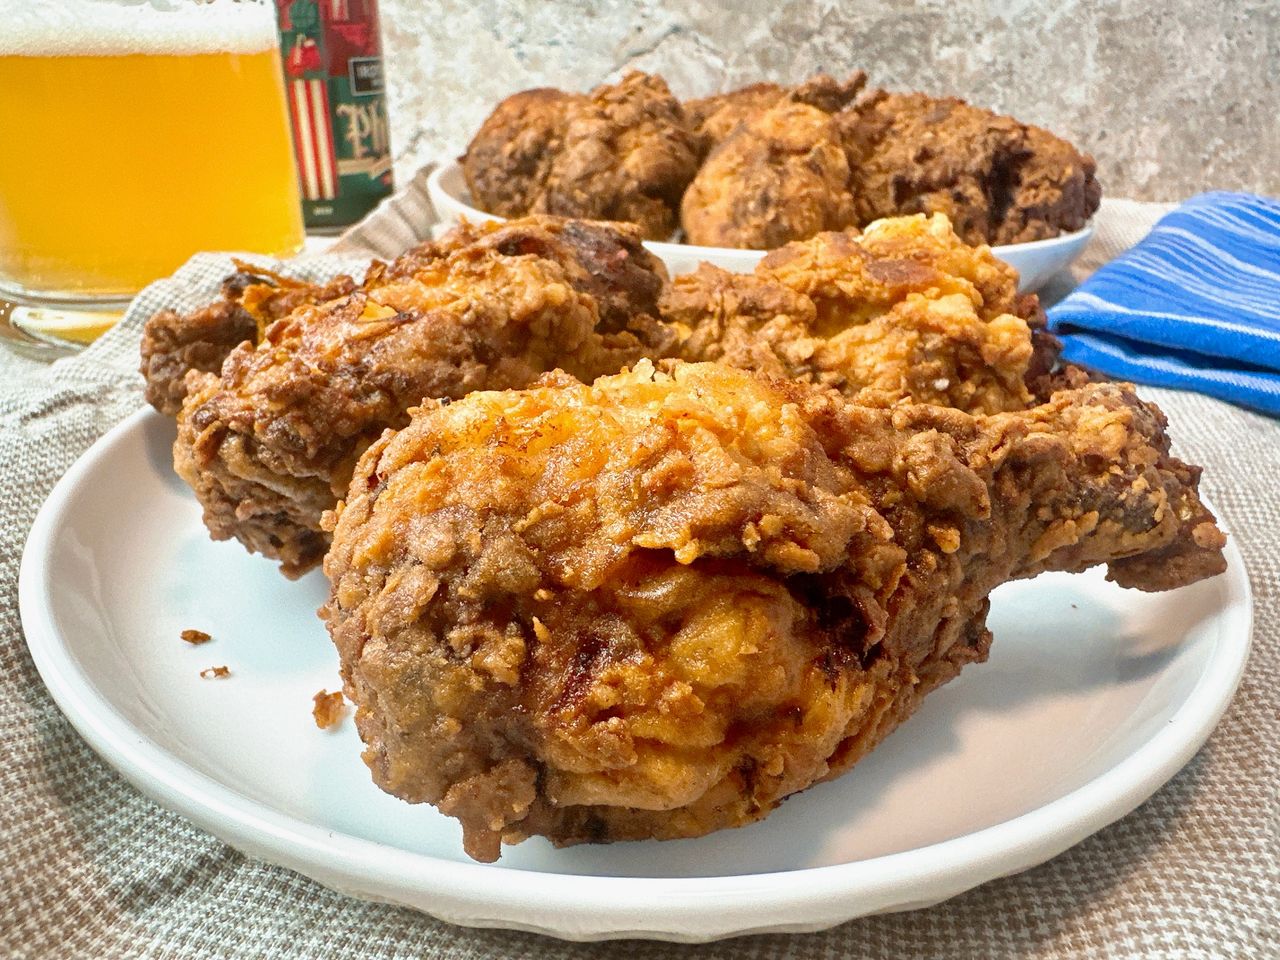
Add a little buttermilk brine to the flour mixture. Have you noticed that when frying chicken, the pieces fried last often have the best crust? That’s because during the dredging process, some of the liquid from the brine drips into the flour mixture. When you get to your last pieces of chicken, the flour mixture is downright lumpy. It’s those craggy bits that make the crispiest crust because as the chicken fries, the clumps dehydrate and become golden brown and crunchy. Instead of waiting for your flour mixture to be perfect at the end of dredging, add some of the buttermilk brine in the beginning!
Let the coated chicken rest before frying. Once your brined chicken has been dredged in the flour coating, transfer it to a wire rack and let it rest for 30 minutes (at room temperature). Why? This gives the coating time to absorb moisture and stick to the chicken skin, which will prevent it from sliding off when it hits the hot oil. We also let the chicken rest at room temperature so it’s not too cold; cold chicken will immediately drop the oil temperature below where it needs to be for frying.
Use an instant-read thermometer. We need a thermometer in this recipe for two reasons – to make sure the oil temperature is correct (not too high or too low) and to test the chicken for doneness.
The ideal temperature for frying chicken is 325 degrees, and it’s important to cook in batches to keep the oil at a consistent temperature.
When frying this chicken, try not to let the oil get below 315 degrees. If the oil temperature drops too low, the chicken will absorb a lot of oil, producing greasy, soggy chicken. Also use the meat thermometer to test for doneness; all chicken pieces should be cooked to an internal temperature of 165 degrees (check the temperature at the thickest part of each piece, not touching the bone).
Fried Chicken
Ingredients
For the Buttermilk Brine
- 3 cups buttermilk
- 2 tablespoons kosher salt
- 1 tablespoon freshly ground black pepper
- 2 teaspoons cayenne pepper
- 4 pounds chicken parts, such as wings, thighs, and drumsticks (I used thighs and drumsticks)
For the Flour Coating
- 2 cups all-purpose flour
- 1/4 cup cornstarch
- 1 tablespoon baking powder
- 1 teaspoon onion powder
- 1 teaspoon garlic powder
- 1 teaspoon kosher salt
- 1 teaspoon freshly ground black pepper
- Vegetable oil, for frying
Instructions
- To make the buttermilk brine, in a large bowl, combine the buttermilk, salt, black pepper, and cayenne pepper. Pierce the chicken pieces all over with a fork and add them to the buttermilk mixture. Refrigerate for 2 to 4 hours (and up to 24 hours).
- To make the flour coating, in a large, shallow baking dish (or large resealable plastic bag), combine the flour, cornstarch, baking powder, onion powder, garlic powder, salt, and black pepper. Mix well.
- Add about 3 tablespoons of the buttermilk brine to the flour mixture and rub together with your fingers to create small clumps.
- Place a wire rack on a large baking sheet.
- Working with one piece at a time, remove the chicken from the buttermilk brine and let any excess liquid drip back into the bowl. Transfer the chicken to the flour mixture and turn to coat all sides. Press the coating into the chicken so it adheres.
- Transfer the coated chicken to the wire rack and let stand for 30 minutes.
- Place another rack over a baking sheet lined with paper towels.
- Heat 1 inch of the vegetable oil in a deep, heavy pan (like a Dutch oven) over medium-high heat. Heat until the oil reaches 325 degrees.
- Working in batches, gently lower the chicken pieces into the hot oil. Fry until each piece registers 165 degrees when an instant-read thermometer is inserted deep into the meat, not touching the bone, about 10 to 12 minutes, depending on the size of your chicken pieces. Turn the chicken pieces occasionally during cooking, and make sure the oil doesn’t drop below 315 degrees.
- Transfer the fried chicken to the wire rack over paper towels and let stand for 5 minutes. Continue working until all pieces have been fried.
- Store cooled leftovers in an airtight container, in the refrigerator, for up to 3 days. Reheat in a 325-degree oven until hot and crispy, about 15 minutes.