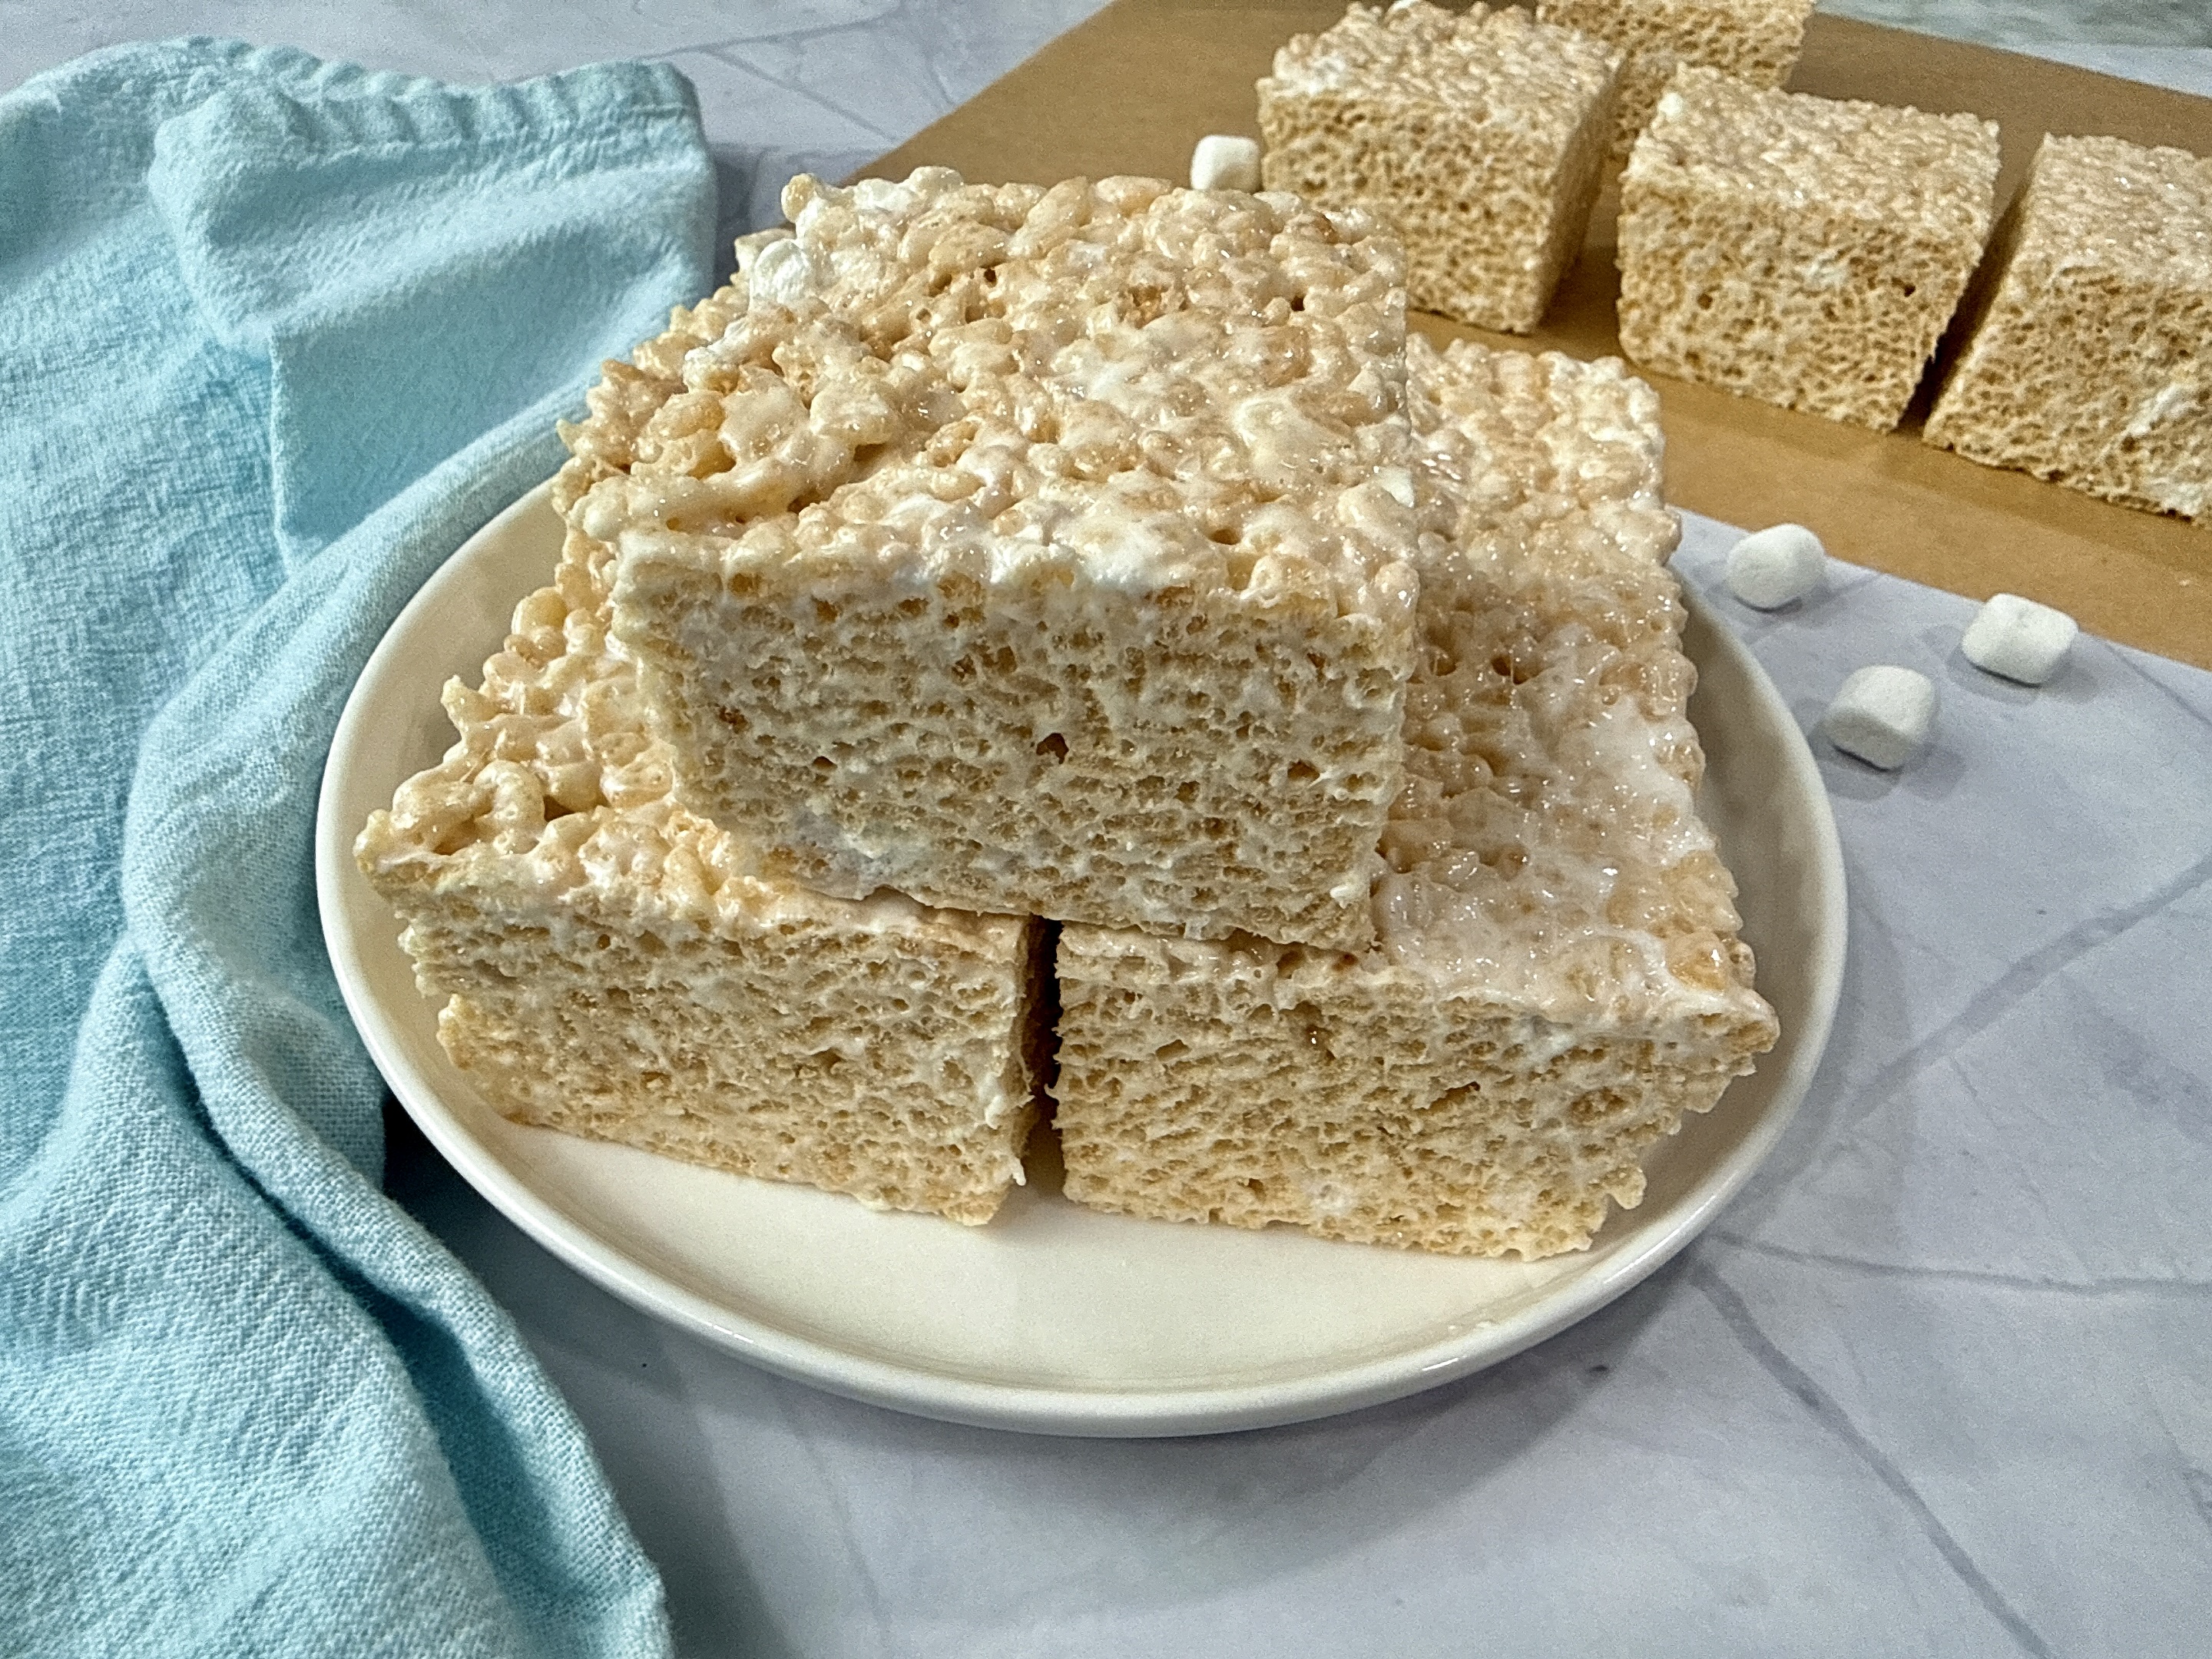
Ultimate Rice Krispie Treats
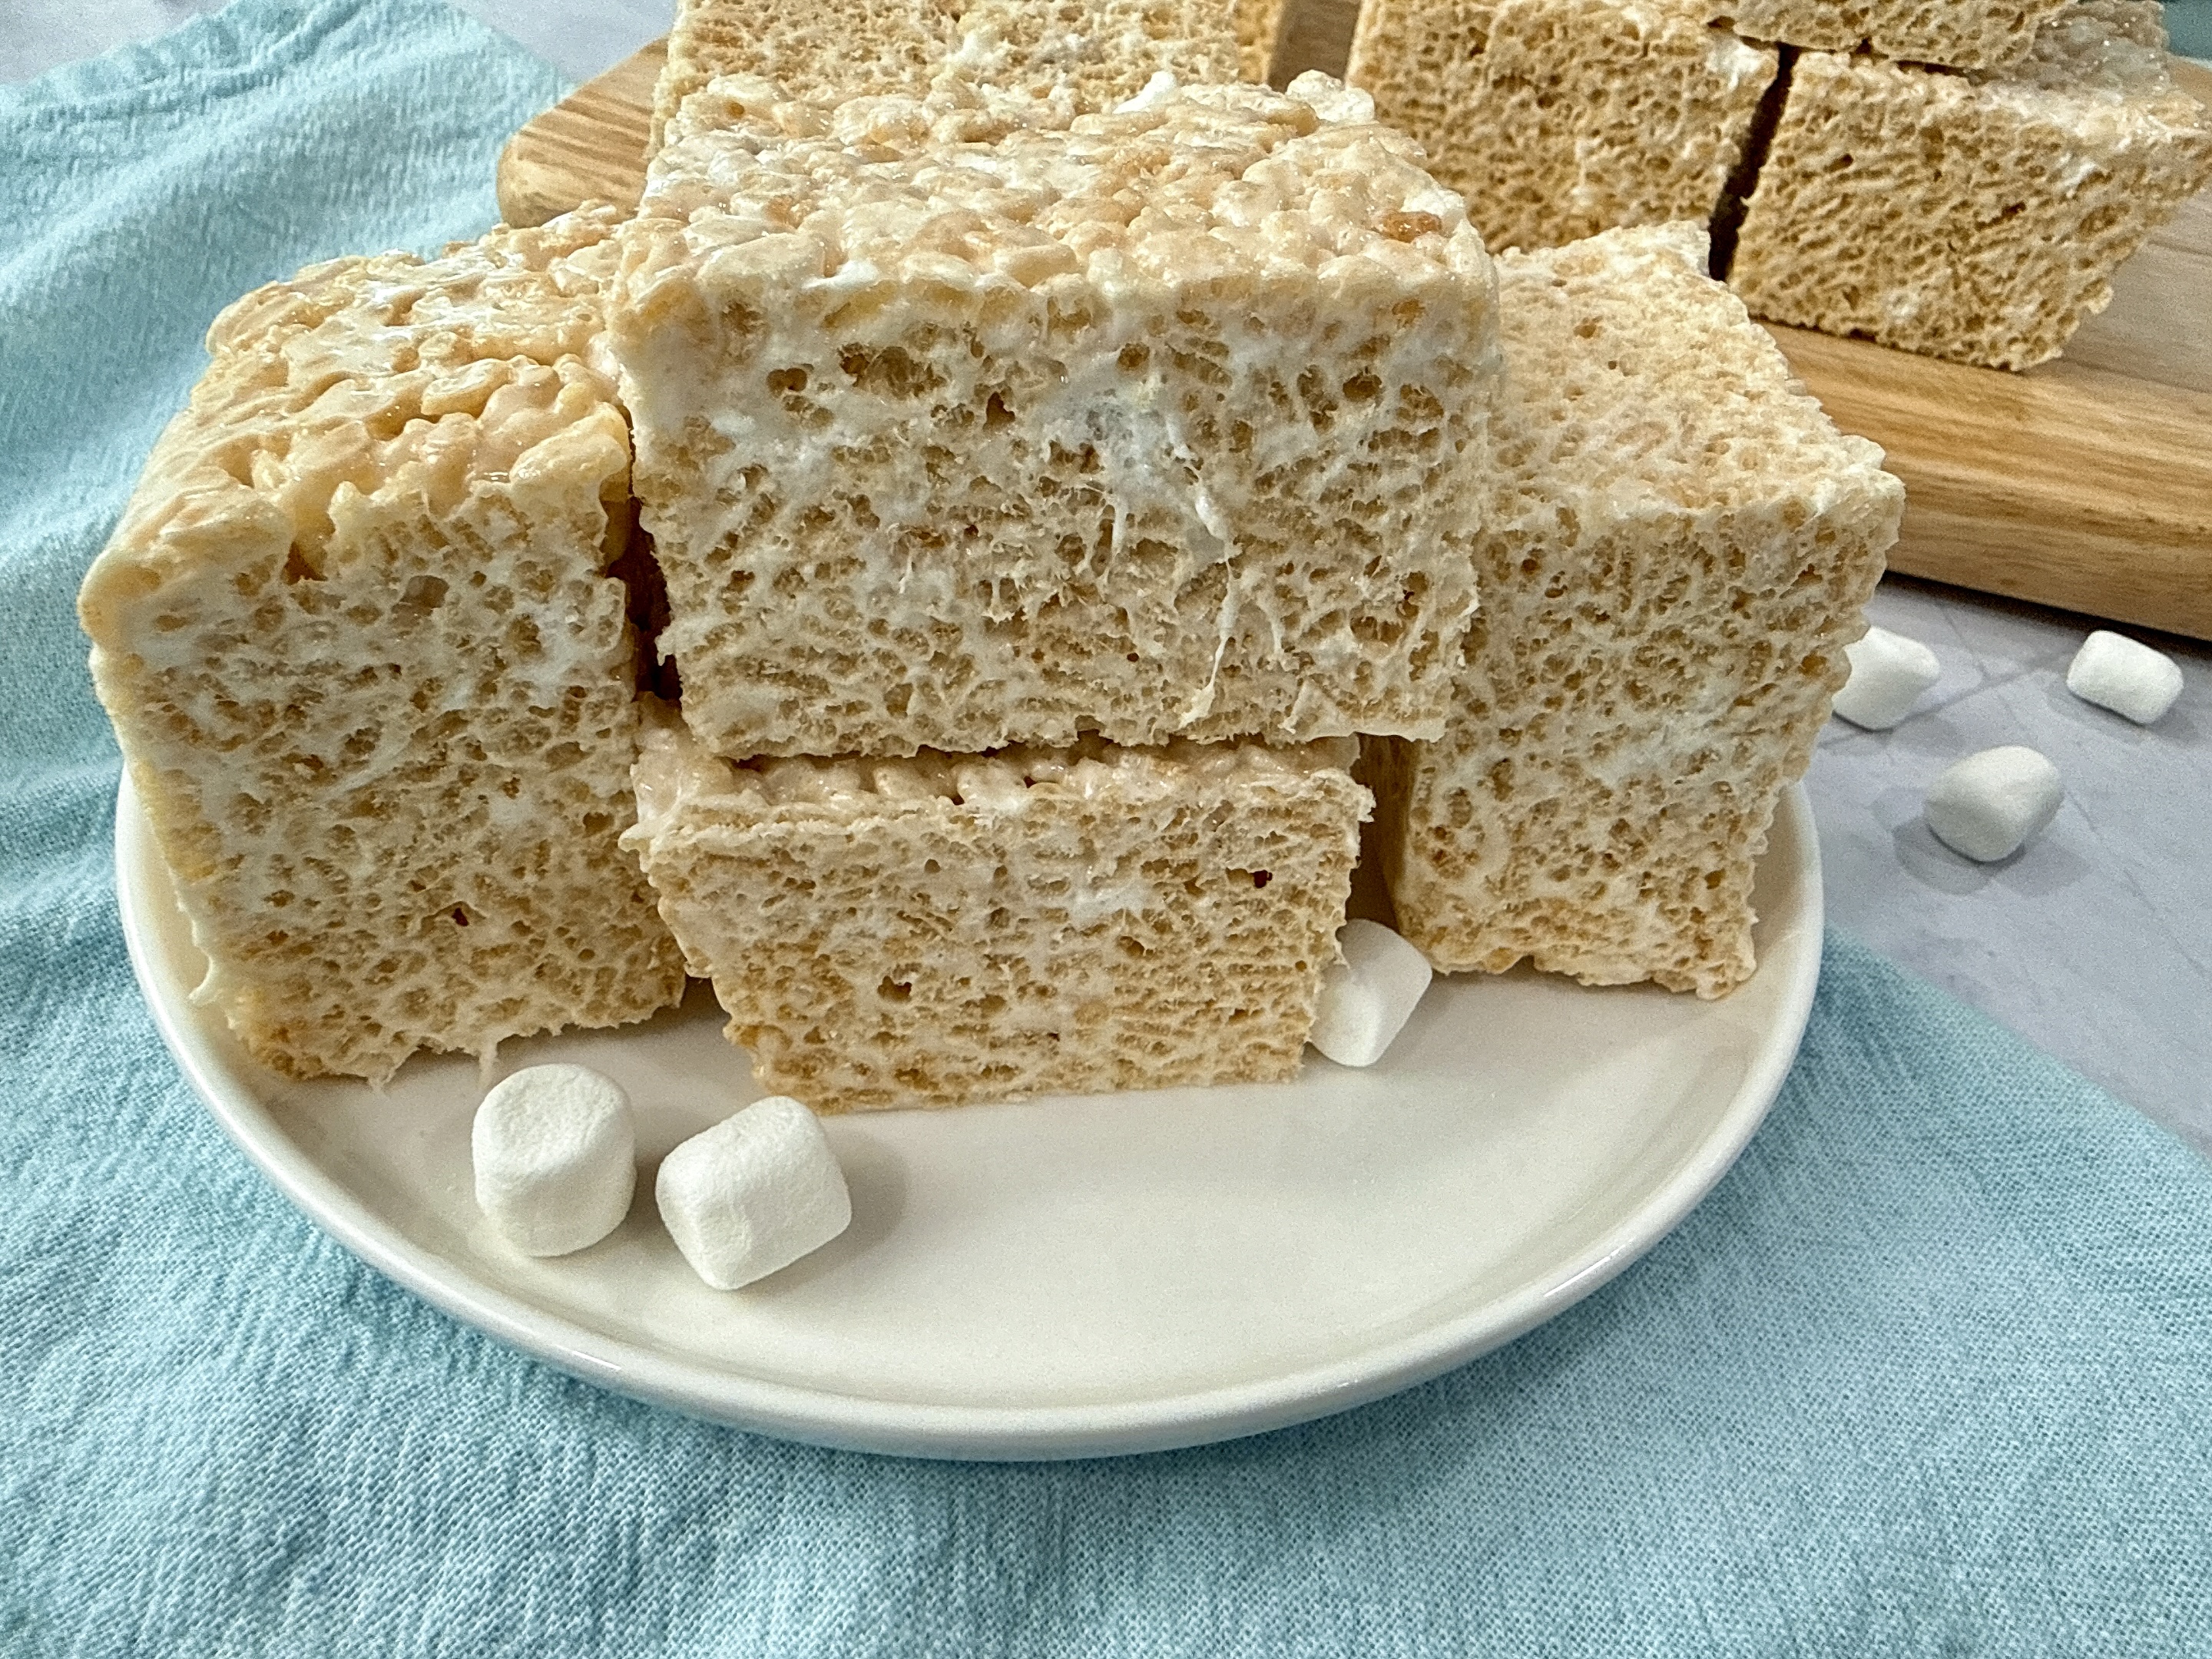
These Rice Krispie treats are extra gooey, decidedly buttery, and deliver the perfect marriage of salty and sweet. Plus, they’re made with homemade browned butter, so there’s nutty, caramelized goodness in every stretchy bite.
This article was written for the Arizona Republic.
The brown butter changes everything! If you think you don’t need a recipe for Rice Krispie treats, think again. Sure, the tried-and-true recipe from the cereal box is fine, but I tweaked the ingredients and catapulted the cherished treat into something much better than the original.
One of the most important changes I made was browning the butter.
Browned butter is easy to achieve and features butter that’s gently cooked until the milk solids are toasted. The result is cozy butter with a rich, nutty flavor and deep, golden-brown color.
Additional changes I made to the original recipe
- I added more butter. The original recipe calls for 3 tablespoons of butter, and my recipe uses 8 tablespoons, meaning one entire stick. I can assure you, it’s the perfect amount.
- I used more marshmallows and added them at two different times. The original recipe contains 5 ½ cups of mini marshmallows and this recipe uses almost double that amount – 10 cups. Eight cups are melted into the butter, and 2 cups are folded into the mixture towards the end. When you reserve 2 cups of marshmallows until the end, they don’t fully melt and you’re left with gooey nuggets of sweet, chewy confection.
- I added salt. The original recipe doesn’t call for salt, but I added it in two places. First, we add a pinch of kosher salt to the cereal mixture and then we add flaky salt on top of the squares. The salt enhances the flavor of the brown butter and balances the sweetness of the marshmallows.
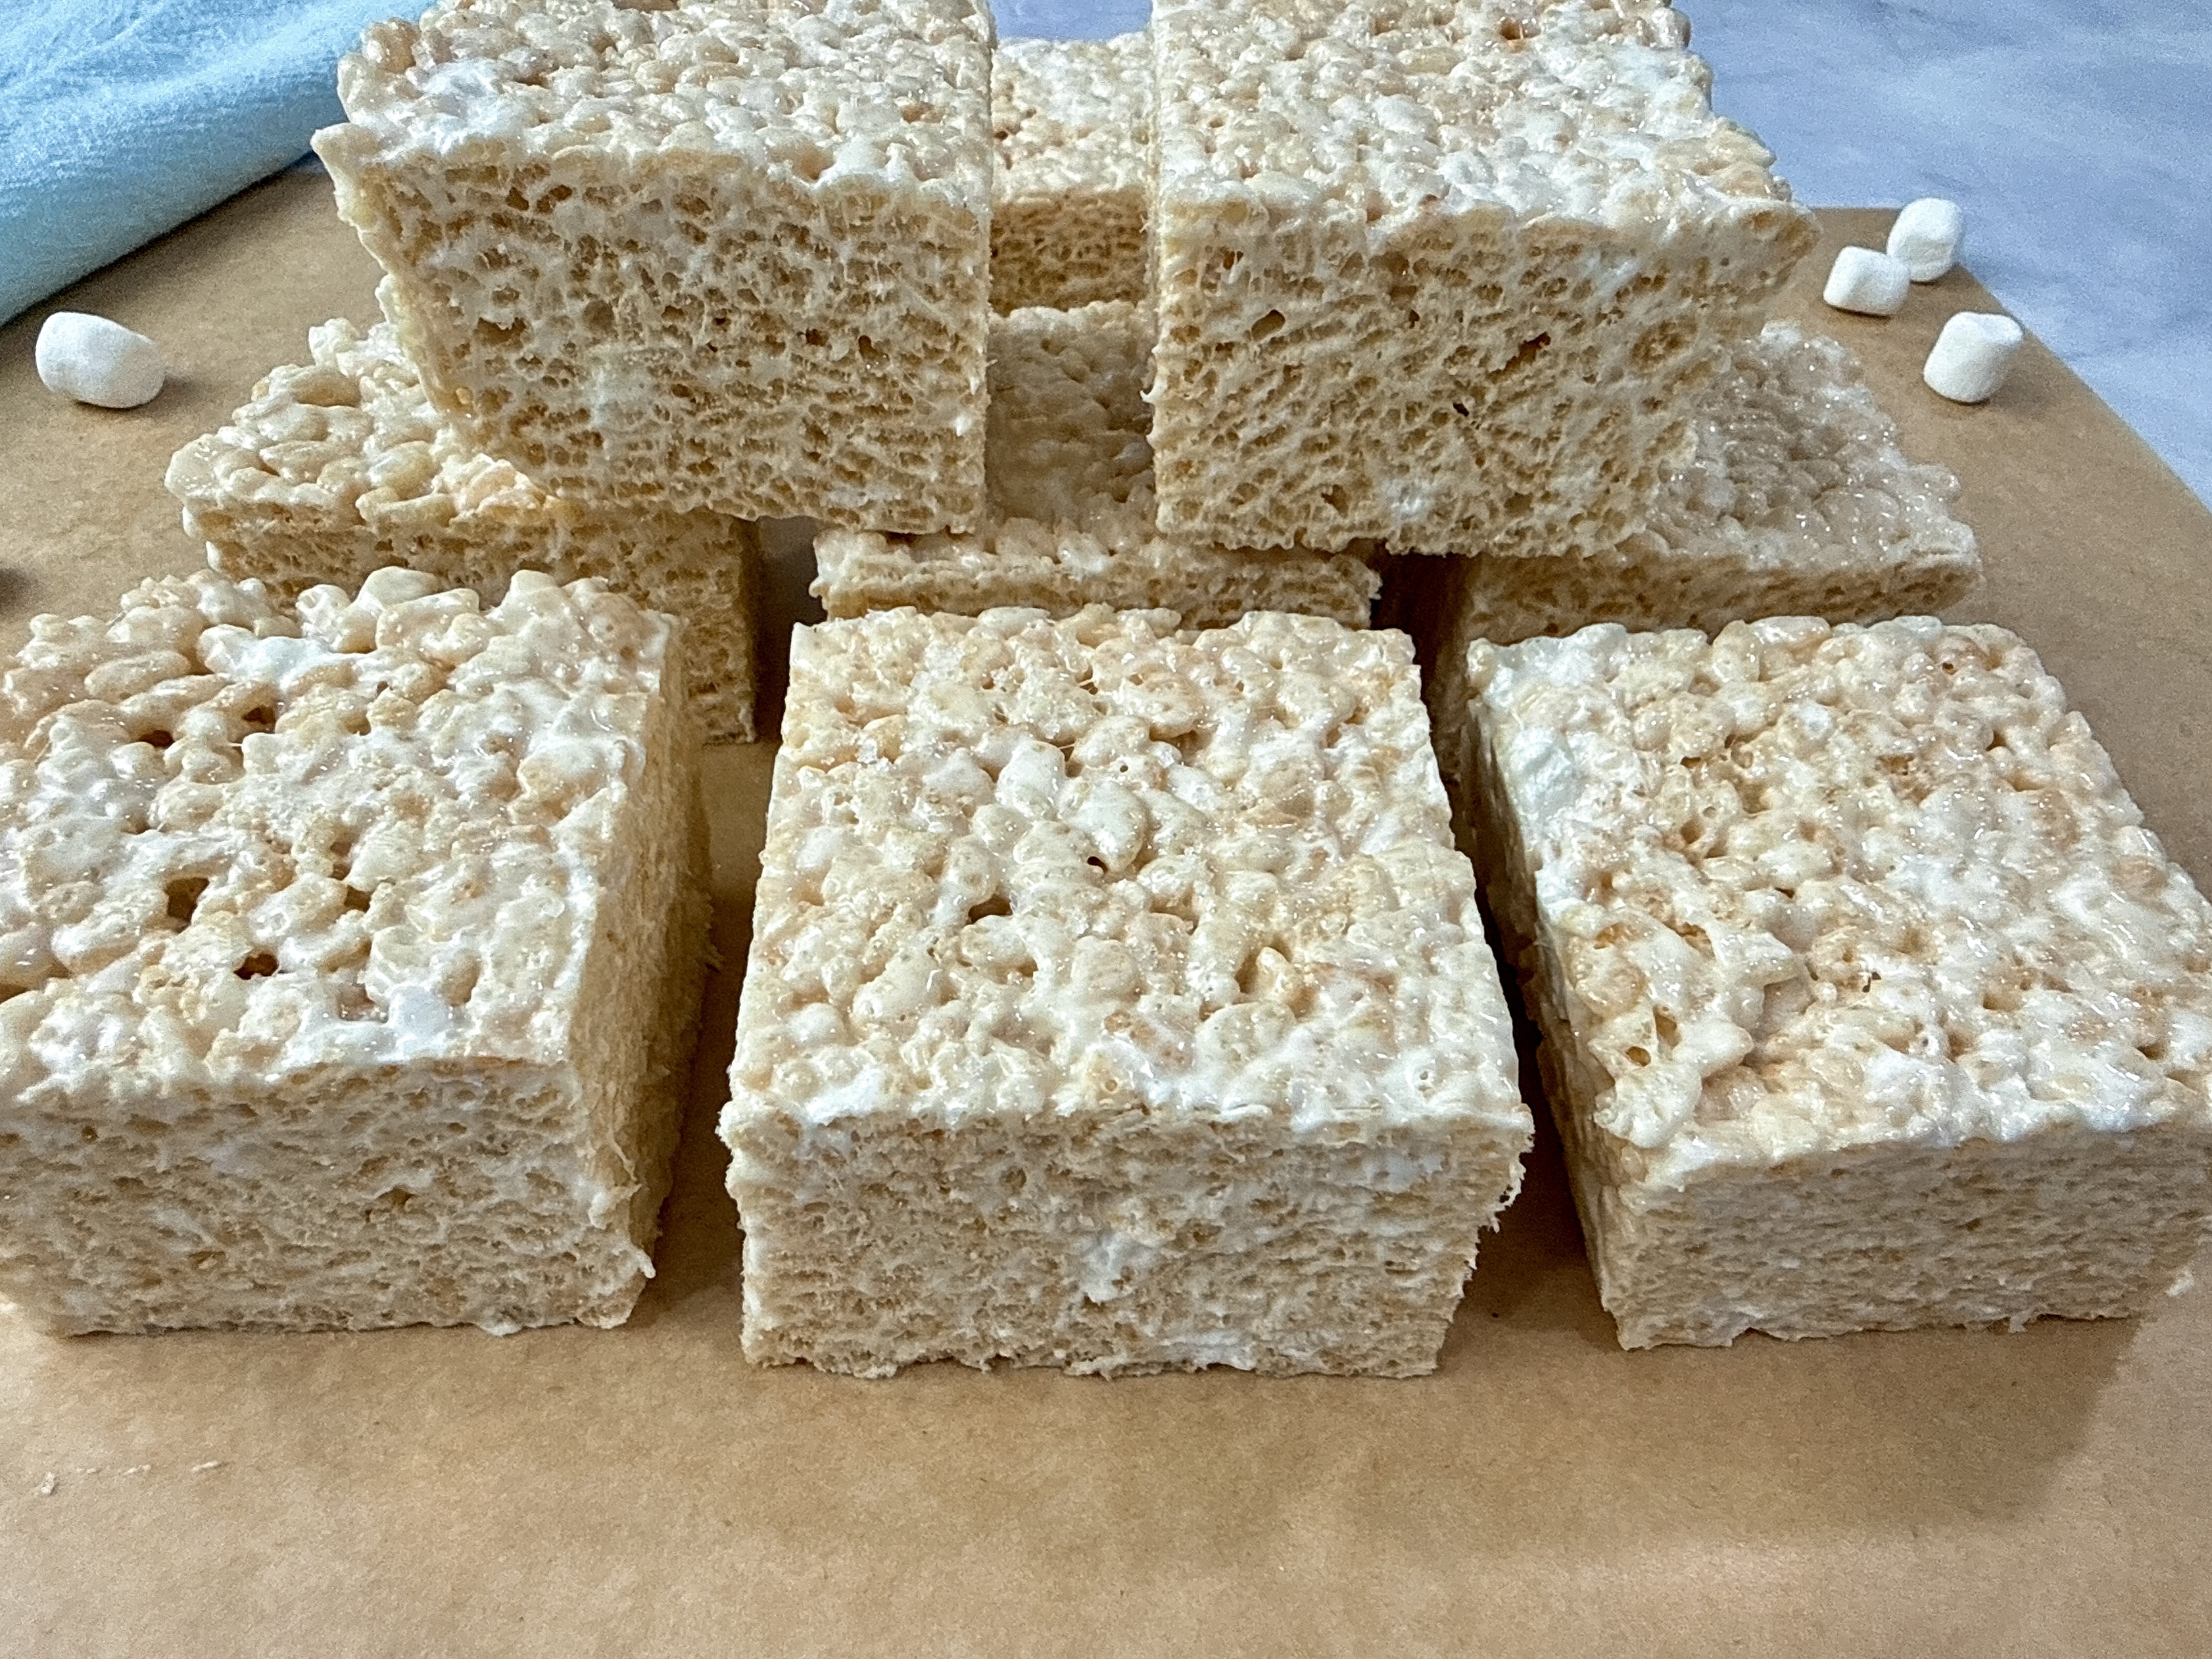
- I used a smaller pan and made thicker squares. In the original recipe, the cereal mixture is pressed into a 13×9-inch pan and then cut into 12, 2-inch squares. In this recipe, I used an 8-inch square pan and cut the mixture into 9, extra-thick squares.
Ingredients needed for these Rice Krispie treats
- Butter. Use unsalted butter for this recipe because it’s the best for making browned butter. Why? Unsalted butter doesn’t foam as much as salted butter when melting, so it’s easier to monitor the browning process.
- Marshmallows. We need 10 cups of mini marshmallows for this recipe, which is about two 10-ounce packages. I chose not to use regular marshmallows because it’s time consuming to cut them into small pieces, and without cutting them, the melting process is lengthy.
- Rice Krispies cereal. I chose the original version of this puffed rice cereal, but you may use whole grain brown rice cereal if desired.
- Salt. I prefer kosher salt in the cereal mixture and flaky salt for the top. If you only have table salt, use 1/8 teaspoon instead of ¼ teaspoon and skip the salt on top.
- Vanilla extract. Vanilla extract adds floral and caramelized notes to these squares. Use pure vanilla extract for the best result
Tips for perfect Rice Krispie treats
- Swap parchment paper for foil if desired. It’s important to coat your pan with aluminum foil and cooking spray to prevent the mixture from sticking to the pan. If you don’t have foil, use parchment paper and coat it with cooking spray.
- Stir the melted butter frequently. Make sure to stir the butter frequently while browning. Keep a close watch and finish cooking the butter when you see plenty of golden-brown flecks in the bottom of the pan. The butter will also have a delicious, nutty aroma.
- Use a rubber spatula to prevent sticking. To prevent the mixture from sticking to your hands (or your utensils), use a rubber spatula for stirring and for pressing the mixture into the pan. If you only have wooden utensils, spray them with cooking spray before using.
- Be gentle when pressing the mixture into the pan. Since the cereal is puffed-up rice, be gentle when pressing the mixture into the pan. You don’t want to crush the cereal; crushed cereal yields dense squares.
Consider the endless variations for these crispy treats! I kept things simple with this recipe because, once you have the basics down, you can enjoy a variety of variations moving forward. Plus, I adore traditional Rice Krispie treats, meaning those without add-ins or toppings. That said, if you want to jazz things up, consider folding in nuts, crushed chocolate sandwich cookies, chocolate chips (white, milk, and dark chocolate), and colored sprinkles, or add a drizzle of melted semisweet chocolate on top.
How to store these Rice Krispie treats
Transfer your Rice Krispie treats to an airtight container and store at room temperature for up to 5 days. Do not store these treats in the refrigerator or freezer as they will stiffen and become too hard to eat.

Ultimate Rice Krispie Treats
Ingredients
- 8 tablespoons unsalted butter
- 10 cups mini marshmallows, divided
- 1 teaspoon pure vanilla extract
- ¼ teaspoon kosher salt
- 6 cups Rice Krispies cereal
- Flaky sea salt, for sprinkling over top
Instructions
- Line an 8-inch square baking pan with aluminum foil. Spray the foil with nonstick cooking spray.
- Melt the butter in a large saucepan over medium heat.
- Once the butter has melted, continue cooking until the butter is golden-brown and has a nutty aroma, stirring frequently. Note: This could take 8 to 10 minutes.
- Fold in 8 cups of marshmallows and cook until melted, stirring constantly.
- Stir the vanilla extract and kosher salt.
- Remove the pan from the heat and fold in the cereal.
- Fold in the remaining 2 cups of marshmallows and stir until they are mostly melted, leaving some smaller pieces intact.
- Transfer the mixture to the prepared pan.
- Using a rubber spatula, gently press the mixture into the pan, being careful not to crush the cereal.
- Let stand for 1 hour.
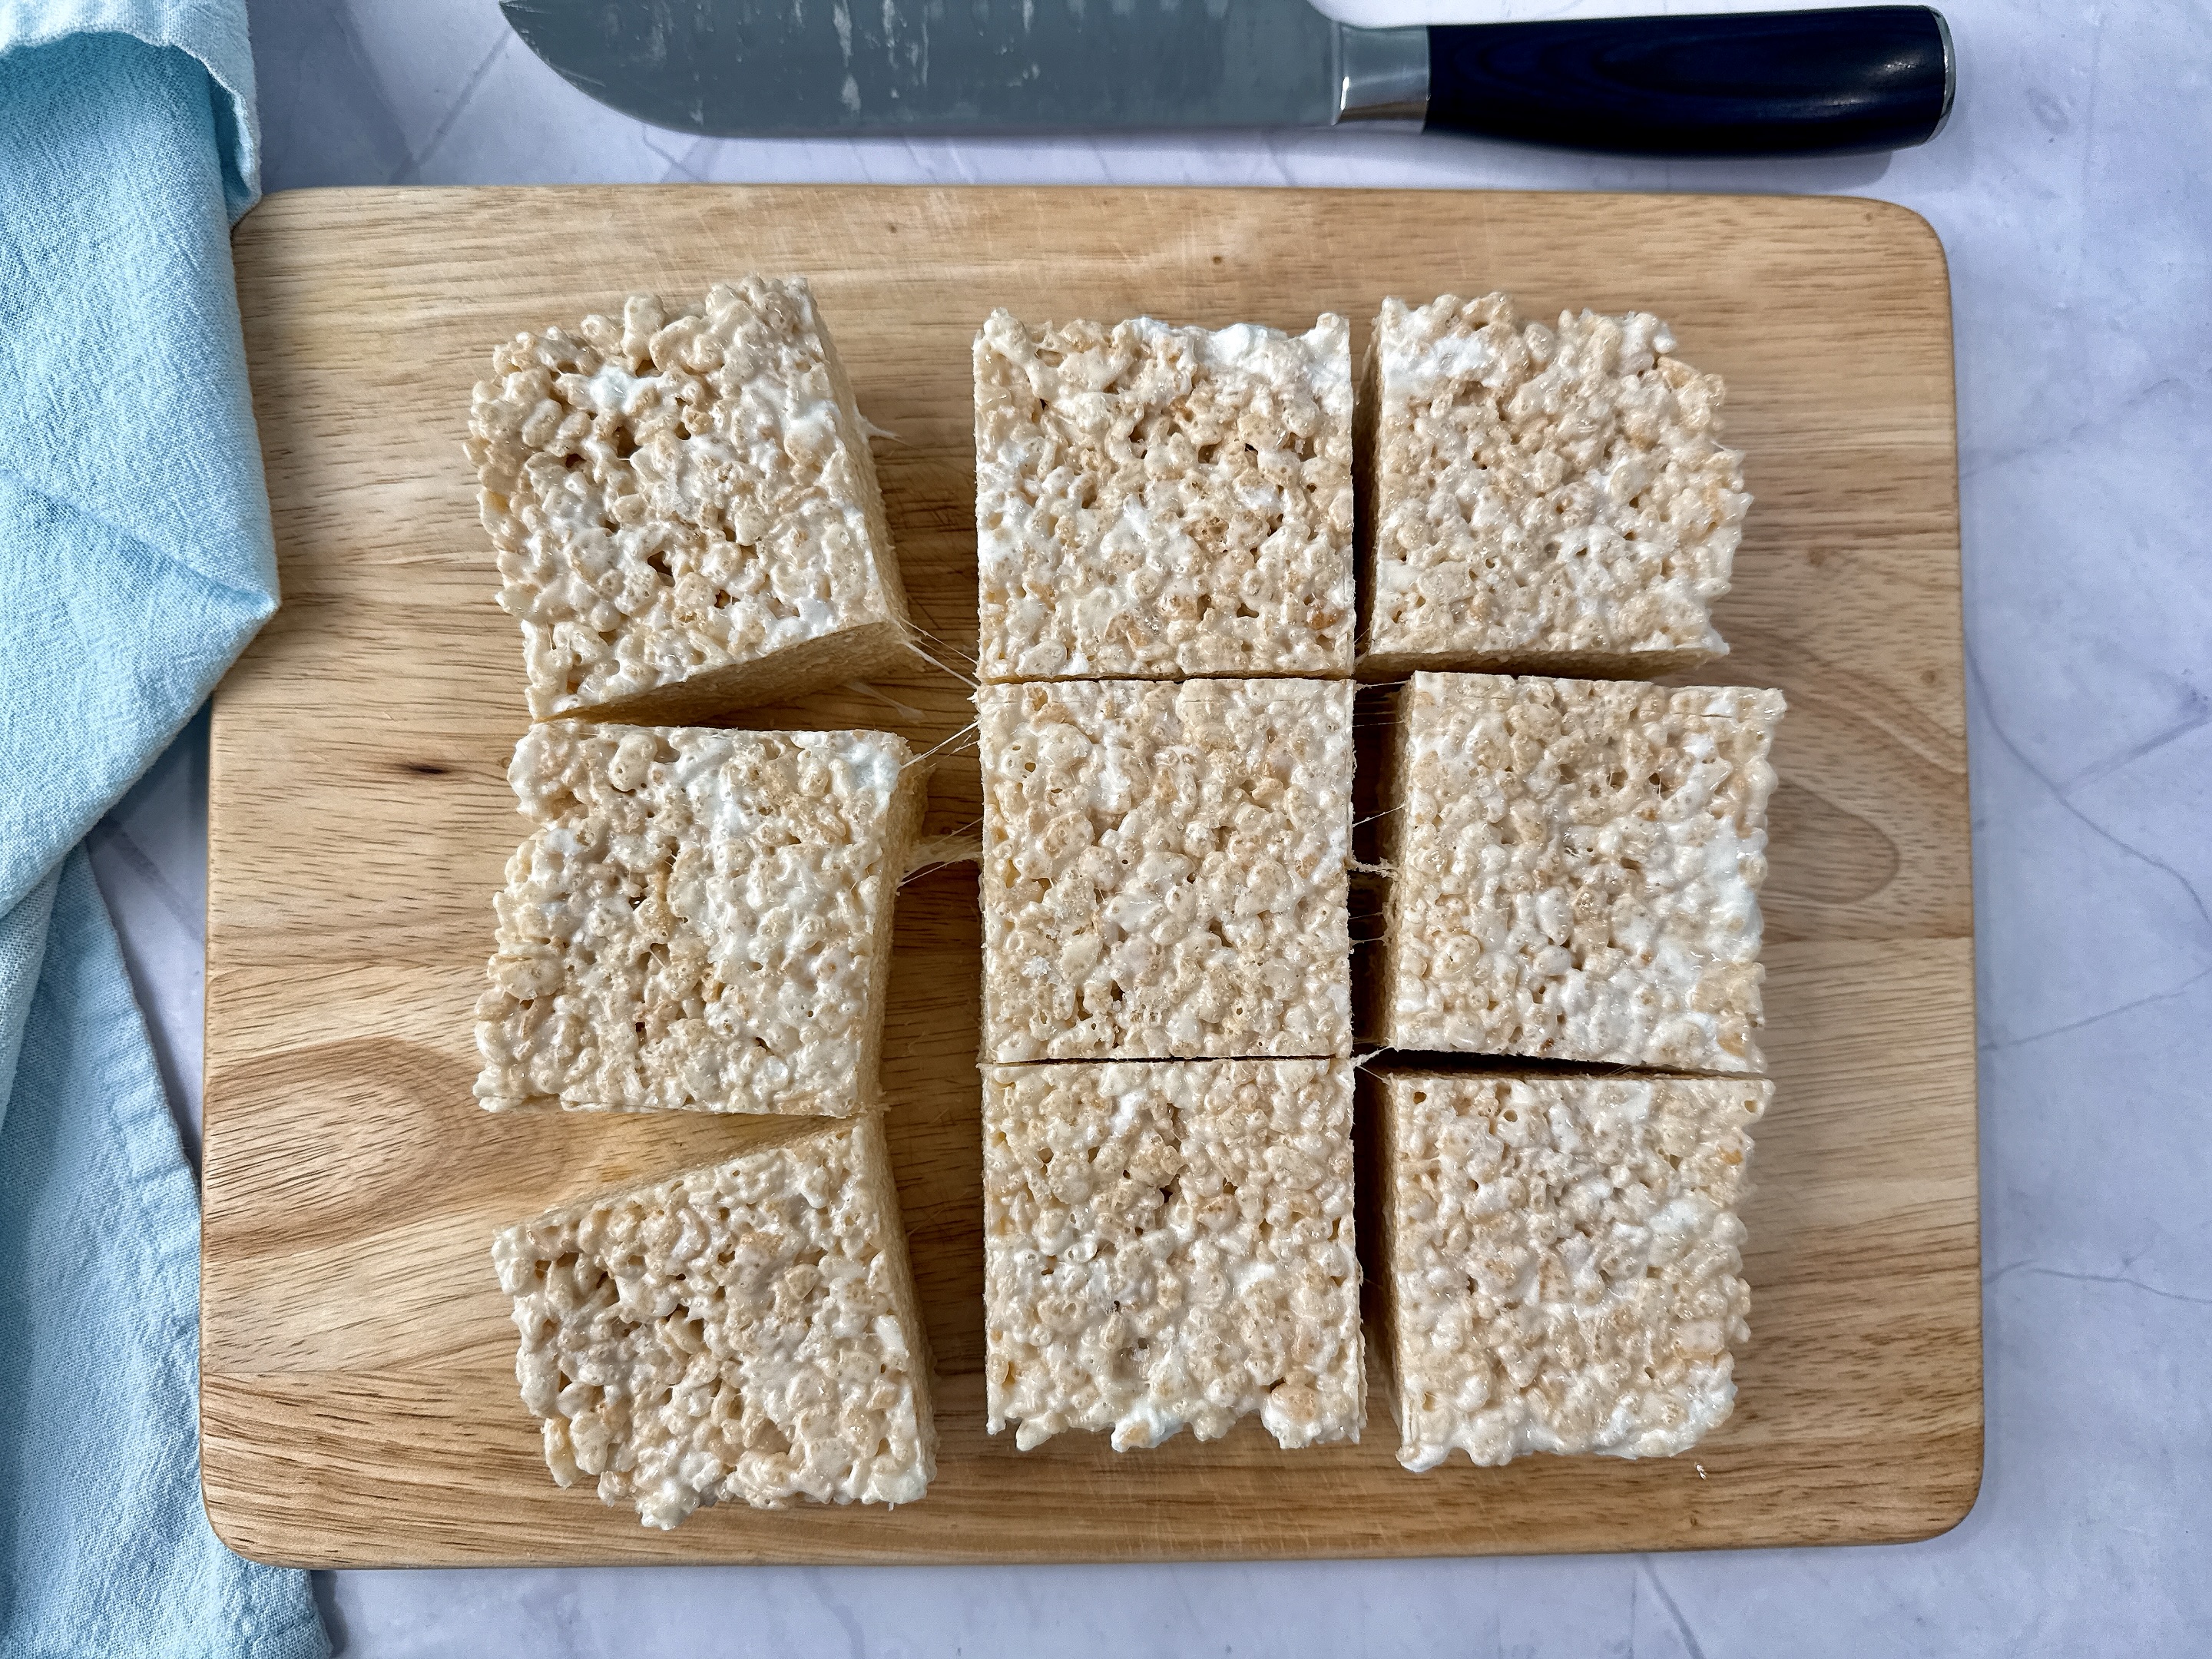
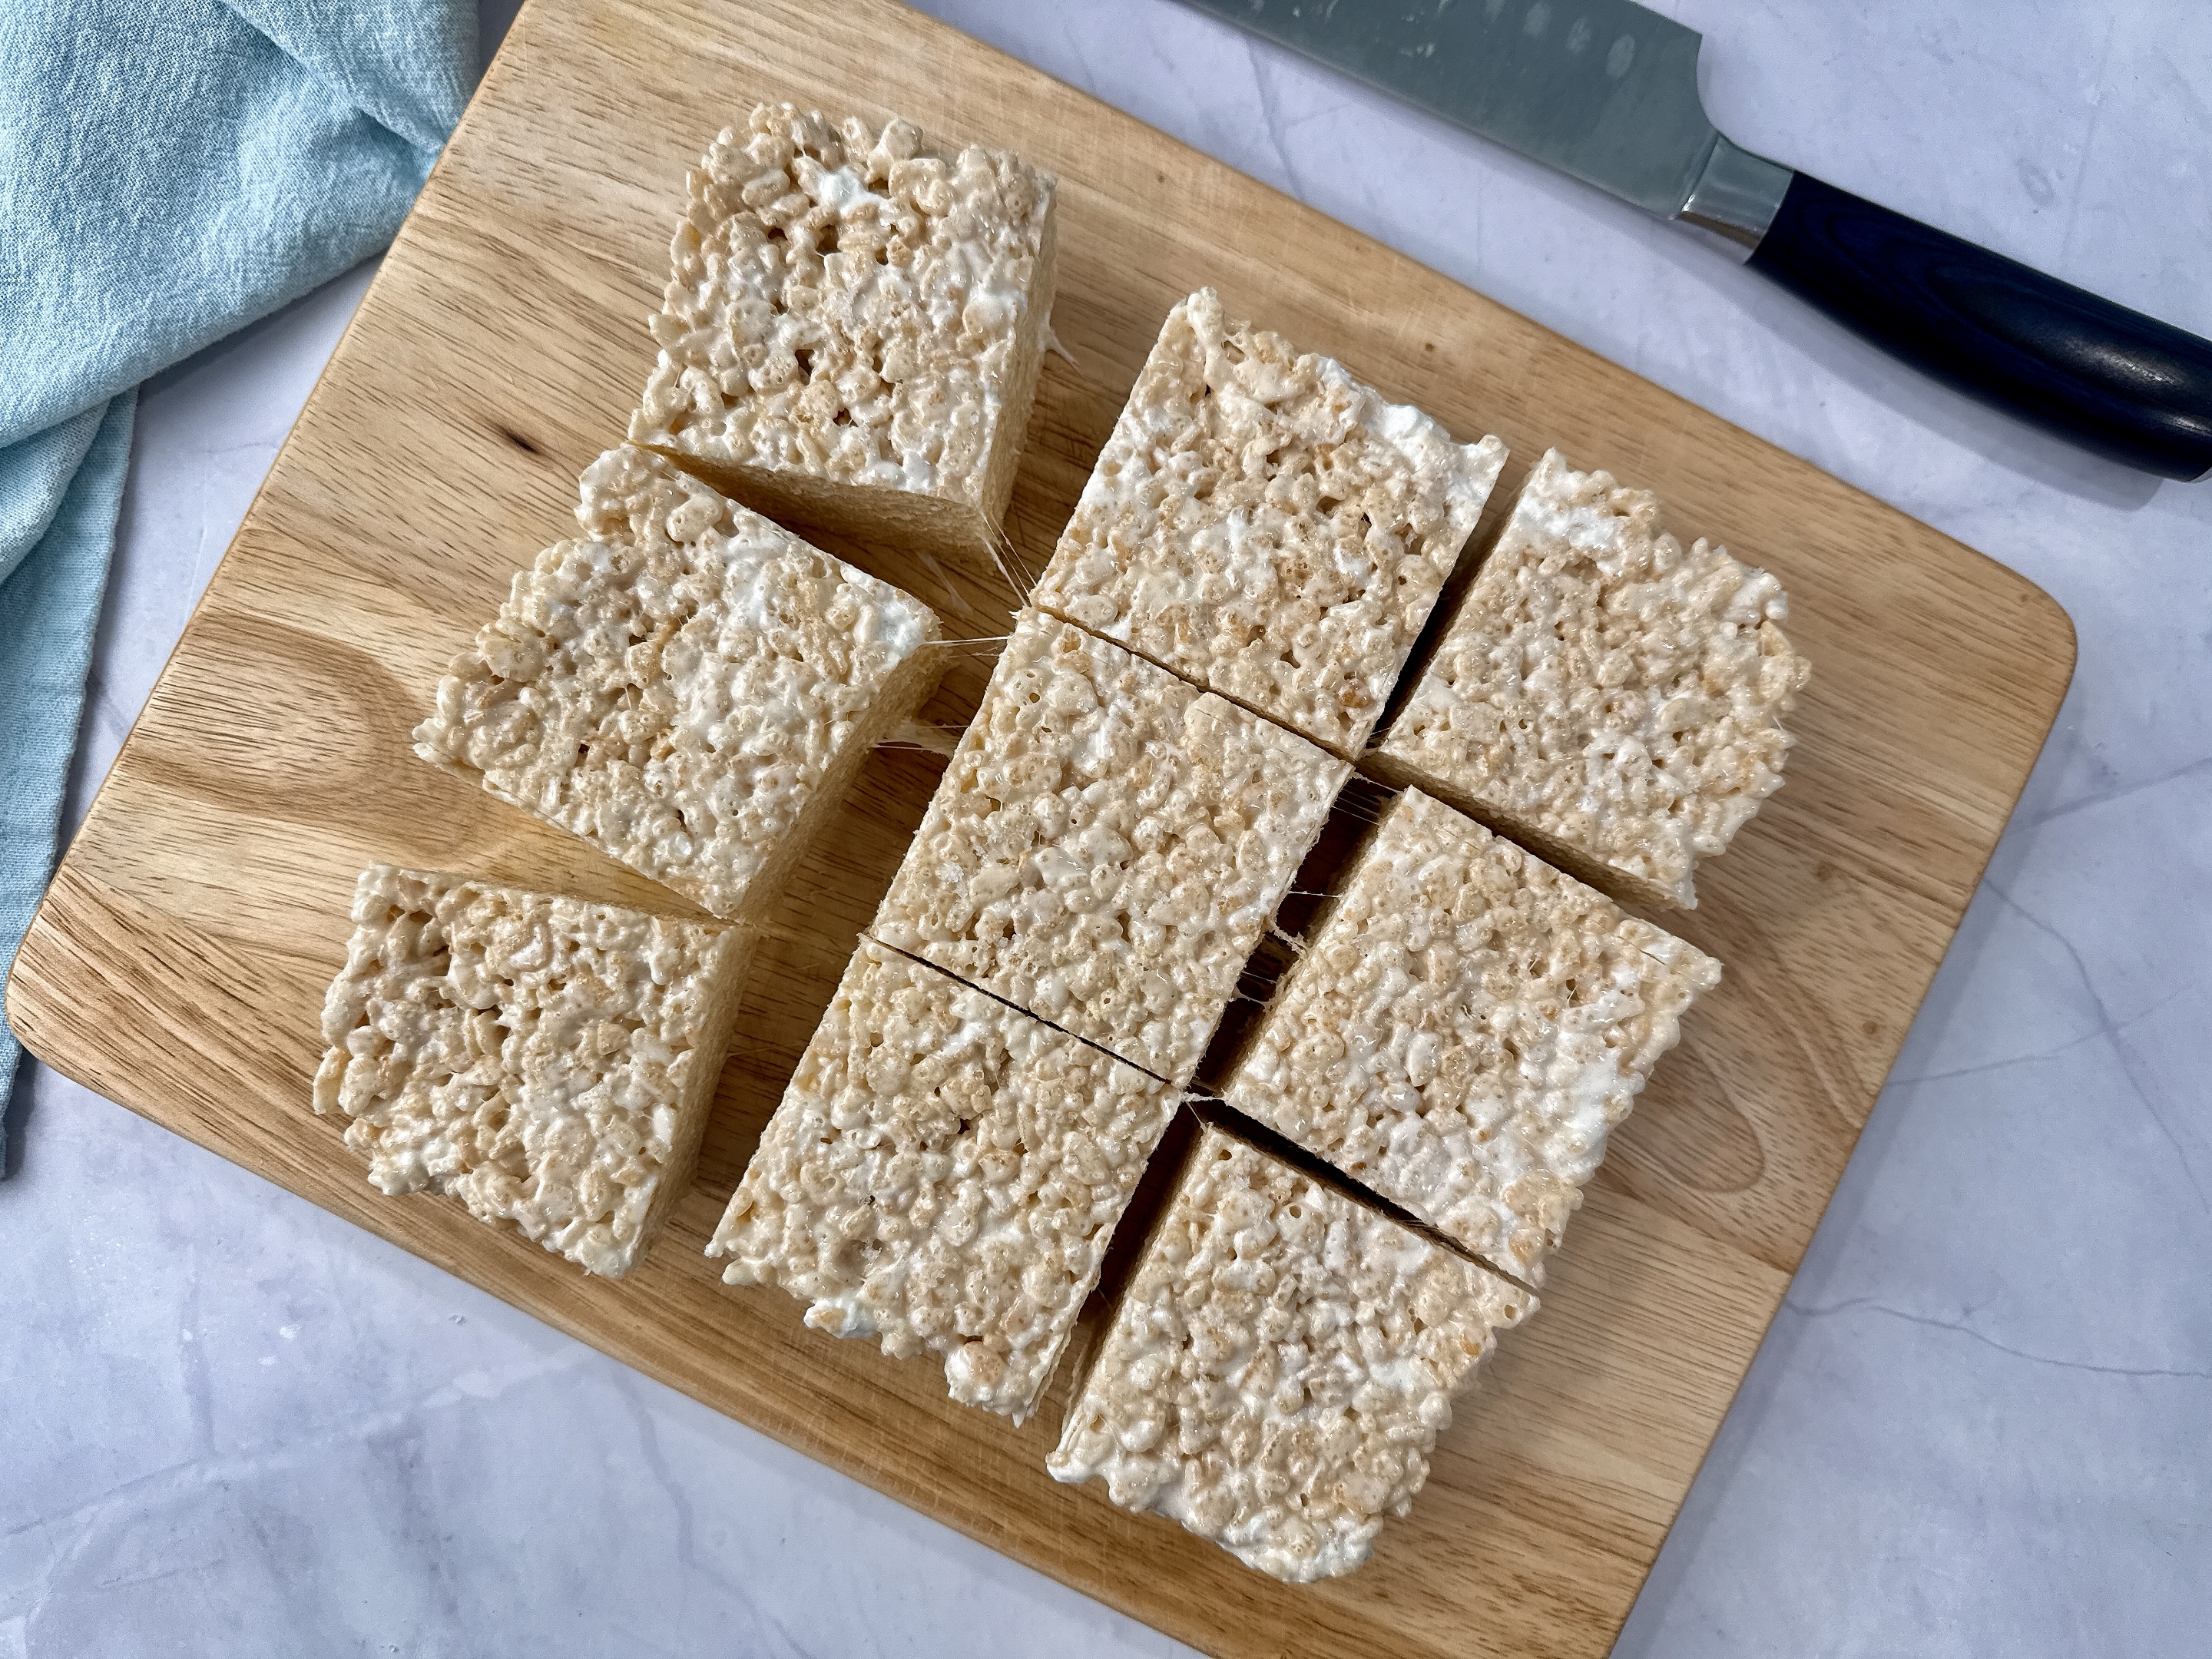
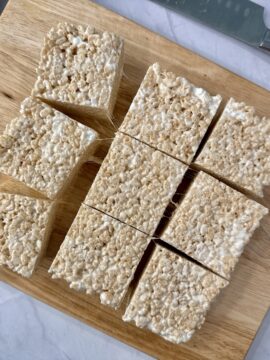
- Using the foil, lift the mixture from the pan and transfer to a cutting board.
- Cut into 9 squares.
- Store these Rice Krispie treats in an airtight container, at room temperature, for up to 5 days.