Baked Chicken Fingers (with air fry option)
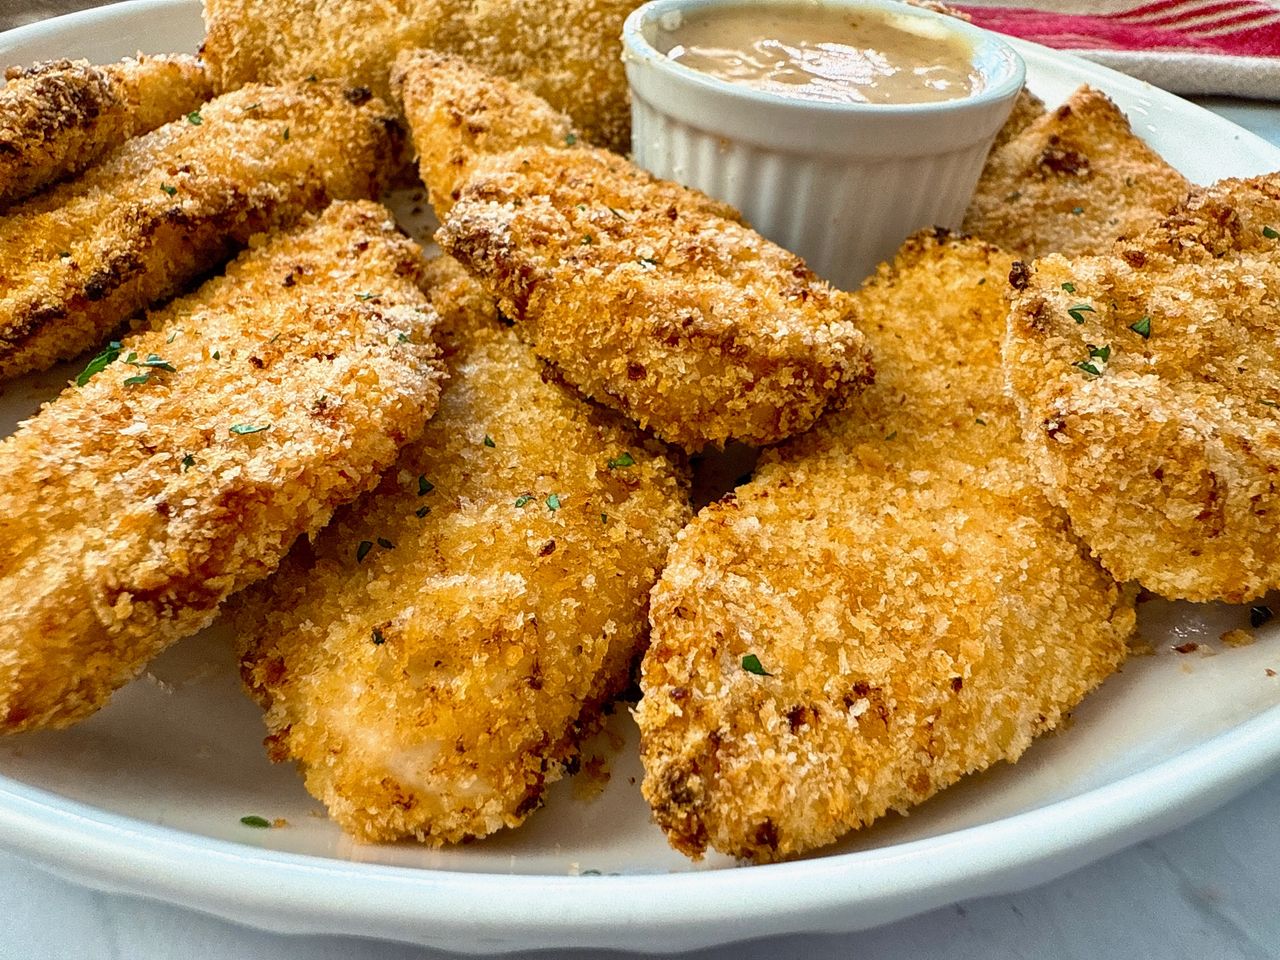
These incredible chicken fingers are deliciously crisp on the outside, and perfectly moist on the inside. The savory batter is tangy and sweet, and the toasted coating is light and crunchy. If you’re a fan of chicken fingers but hate the grease, this recipe is for you. Baked not fried, this chicken delivers everything you crave, without the calories and fat. Plus, you can use choose the oven or your air fryer and have these chicken fingers on the table in about 30 minutes.

This recipe was written for the Arizona Republic.
These chicken fingers are the best you will ever make! I say this with confidence for a few reasons. First, the batter isn’t just a simple egg wash; it’s a marriage of egg, honey mustard, mayonnaise, and flour. The honey mustard and mayonnaise add great flavor, and the egg-flour blend ensures the breadcrumbs stick to every inch of the chicken. Second, the panko breadcrumbs are quickly toasted before using; a few minutes in the oven ensures the flaky crumbs are perfectly golden-brown by the time the chicken finishes cooking. We’re basically giving the breadcrumbs a little head start. Third, you can make these chicken fingers in the oven or your air fryer; the result is flawless both ways.
Here’s what you need for these easy baked chicken fingers
- Chicken. You need 1 pound of chicken tenderloins for this recipe. If desired, you may swap in 1 pound of boneless skinless chicken breasts that have been cut into 1/2-inch-thick strips. Pro tip: Pat the chicken tenders dry before breading; this ensures that the batter sticks.
- Breadcrumbs. I prefer panko breadcrumbs for these chicken fingers because the crumbs bake up like they’ve been deep fried. For gluten-free chicken fingers, use gluten-free panko breadcrumbs.
- Cooking spray. We use cooking spray to coat the breadcrumbs before toasting and again to coat the chicken before baking (or air frying). The addition of cooking spray ensures that the breadcrumbs don’t dry out. I prefer olive oil cooking spray for this recipe, but any cooking spray will do, including butter-flavored and avocado oil.
- Egg. We use 1 large egg in the batter; it’s basically a culinary glue that helps everything stick.
- Flour. Adding 2 tablespoons of all-purpose flour to the egg mixture creates a thick paste that sticks to the chicken fingers. For a gluten-free option, use gluten-free flour or potato starch.
- Mayonnaise and mustard. Adding 1 1/2 tablespoons each of mayonnaise and honey mustard to the batter adds tremendous depth of flavor. If desired, you may use Dijon mustard instead of honey mustard.
- Salt and pepper. Salt and pepper are used to season the batter, and salt is used to coat the chicken before baking. I prefer sea salt for flavor and crunch, but kosher salt also works.
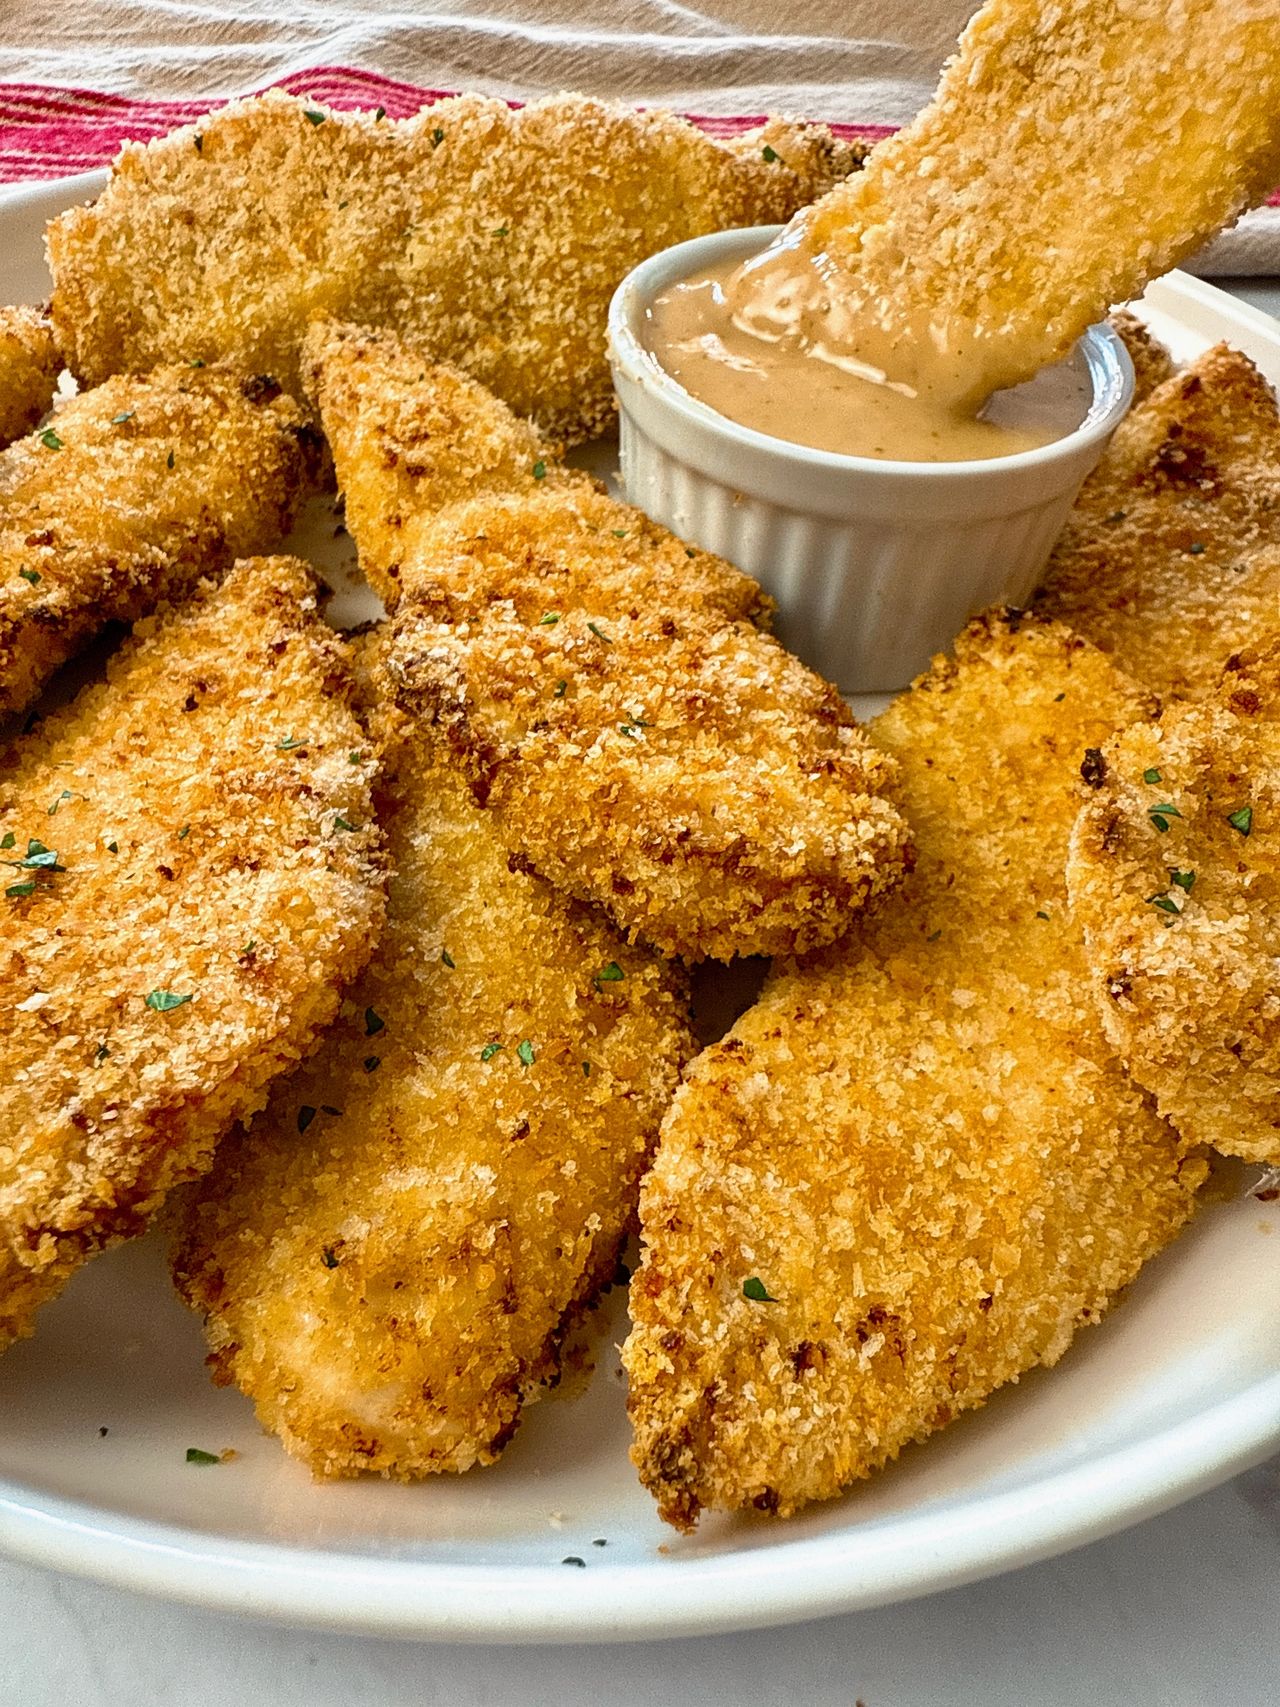
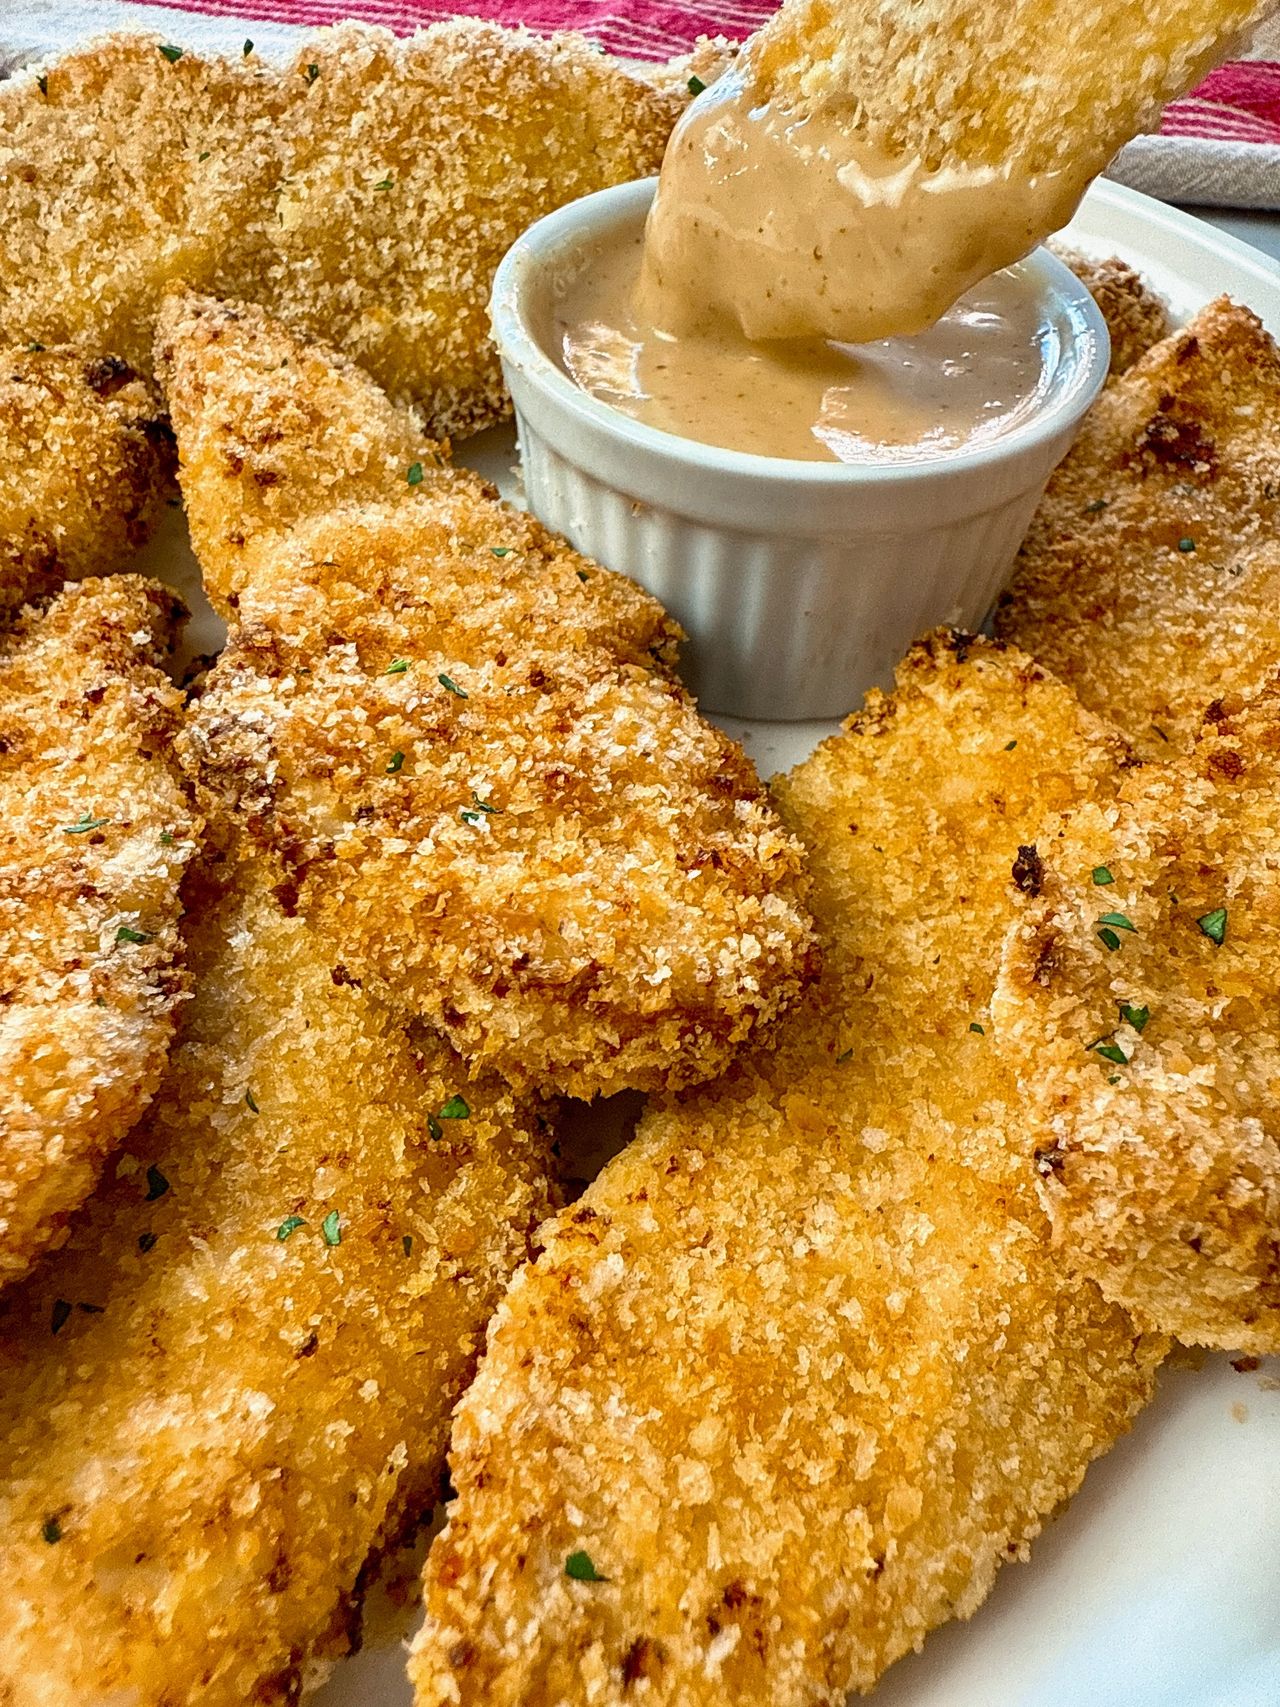
- Optional dipping sauce. If you like to dip your chicken fingers in sauce, excellent options include honey mustard dip, ranch, ketchup, spicy ketchup, and sweet and sour sauce.

Tips for the best baked chicken fingers every time
- Pat the chicken dry. Before you place the chicken in the batter, pat the pieces dry with paper towels. This ensures the coating sticks.
- Allow excess batter to drip off. To prevent the chicken fingers from getting gummy, make sure all excess batter has dripped off before transferring the chicken to the breadcrumbs.
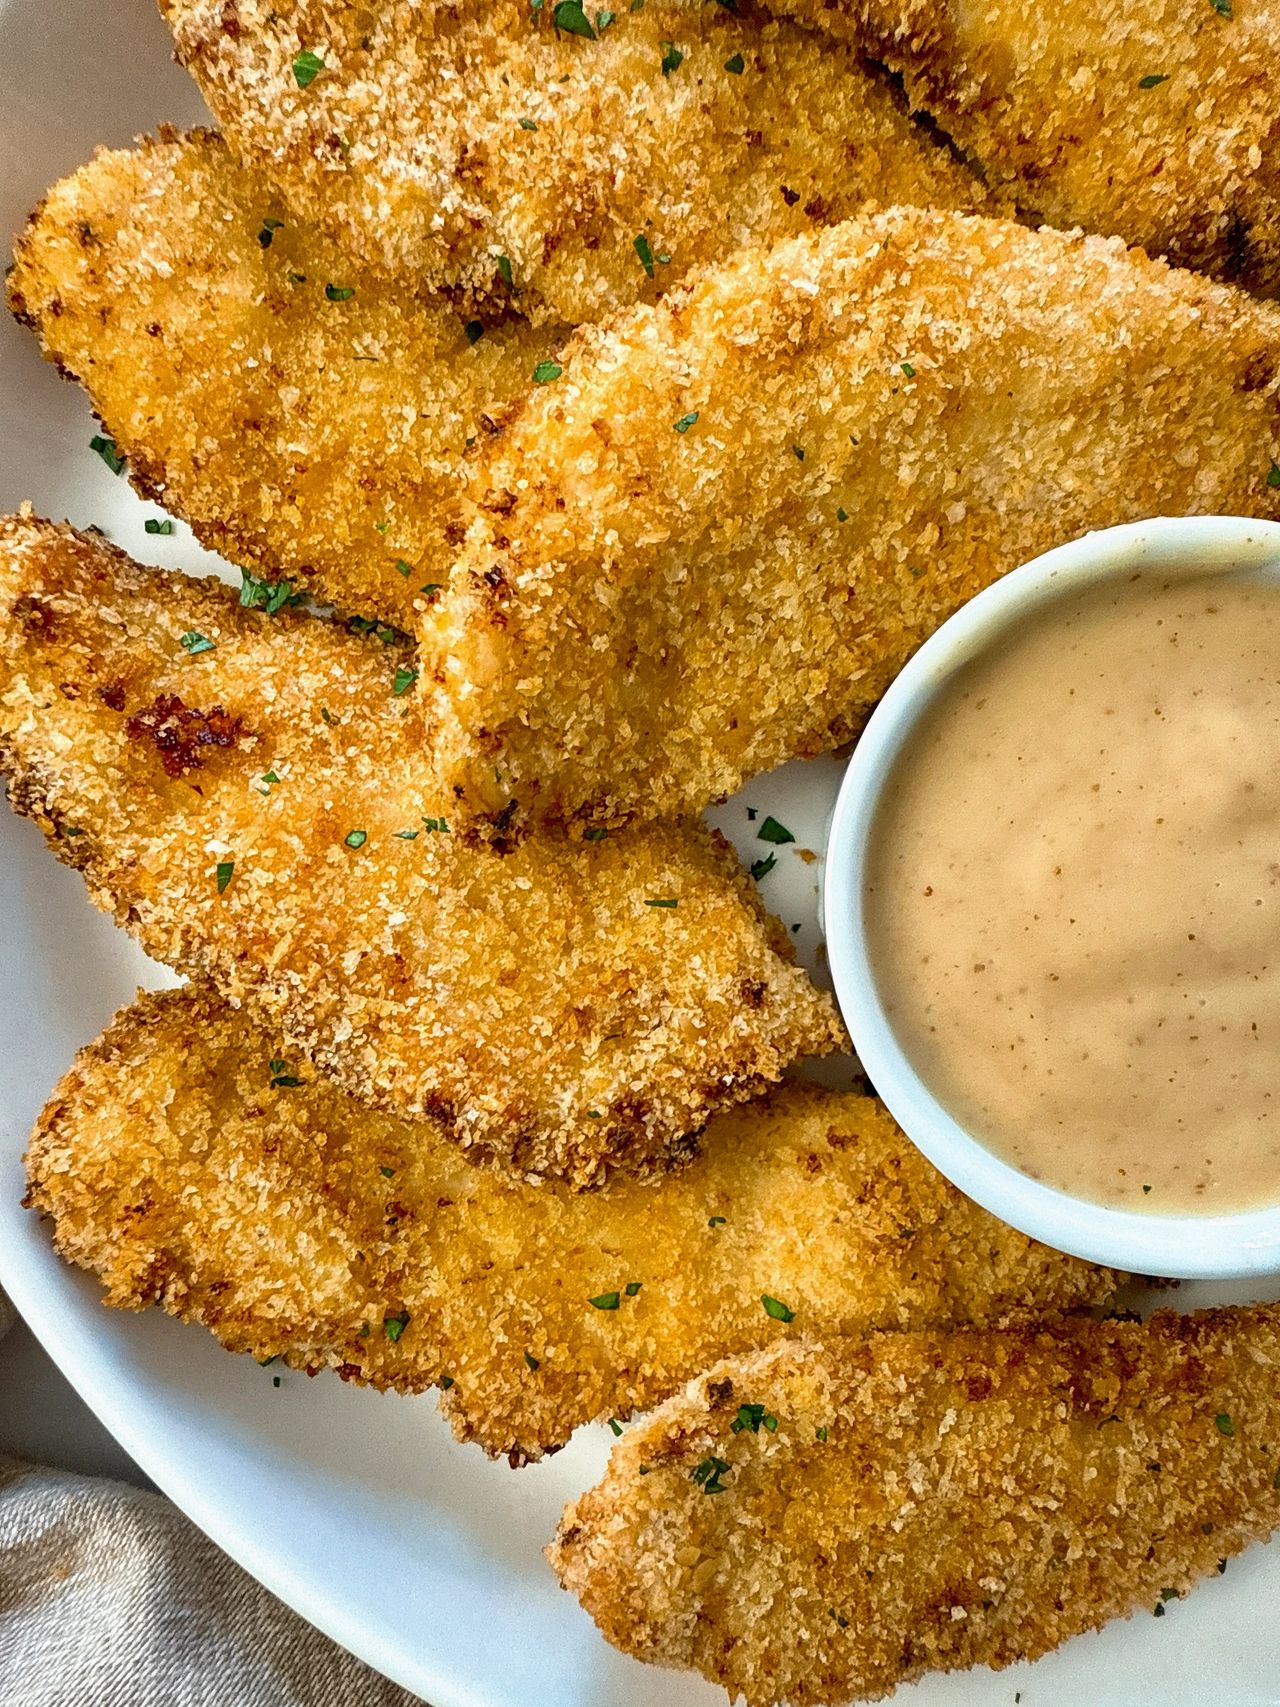
- Use panko breadcrumbs. Unlike traditional breadcrumbs, Japanese-style panko breadcrumbs are large and fluffy, and their coarse texture makes a superb, crunchy coating for these chicken fingers. Plus, because panko breadcrumbs aren’t as dense and regular breadcrumbs, you need less cooking spray on the chicken.
- Toast the breadcrumbs before using. Don’t skip this step, even if you’re using the air fryer to cook the chicken. Toasting the panko breadcrumbs before coating the chicken guarantees and crunchy, golden-brown exterior.
- Don’t be gentle when breading. Once you transfer the chicken from the batter to the breadcrumbs, use your fingers to press the crumbs into the chicken. Don’t leave any bare or damp spots. This ensures the coating doesn’t fall off when baking or air frying.
Can you make these chicken fingers in advance? The best way to prep these chicken fingers in advance is to prep the individual steps; but wait to coat and bake them. To prep ahead, toast the breadcrumbs and store them in a covered container, at room temperature, for up to 2 days. Make the batter and store it in an airtight container, in the refrigerator, for up to 2 days. Batter and coat the chicken with the breadcrumbs just before baking or air frying.
How to store and reheat leftover chicken fingers. Once cool, transfer the chicken fingers to an airtight container and refrigerate for up to 3 days or freeze for up to 3 months. Thaw overnight in the refrigerator before reheating. Reheat leftover chicken fingers on a baking sheet in a 375-degree oven for 5 to 7 minutes, until the center is hot and the coating is re-crisped. You can also reheat the chicken fingers in the air fryer on the reheat setting (350 degrees) for 3 to 5 minutes.
Baked Chicken Fingers (with air fry option)
Ingredients
- 1 1/2 cups panko breadcrumbs
- Olive oil cooking spray, or cooking spray of choice
- 1 large egg
- 2 tablespoons all-purpose flour
- 1 1/2 tablespoons mayonnaise
- 1 1/2 tablespoons honey mustard, or Dijon mustard
- Salt and freshly ground black pepper
- 1 pound chicken tenderloins, or boneless skinless chicken breasts cut into 1/2-inch-thick strips, patted dry with paper towels
Instructions
- Preheat the oven to 200 degrees. Line a large baking sheet with parchment paper or aluminum foil.
- Spread the panko breadcrumbs out on prepared pan, in an even layer. Spray the breadcrumbs with a thin coating of the cooking spray (hold the spray at an angle to prevent blowing the crumbs off the baking sheet)!
- Bake the breadcrumbs for 3 to 5 minutes, until just golden brown.
- Transfer the breadcrumbs to a shallow dish.
- In a separate shallow dish, whisk together the egg, flour, mayonnaise, honey mustard, 1/2 teaspoon salt, and 1/4 teaspoon black pepper.
- Working with one or two pieces of chicken at a time, place the chicken in the egg mixture and turn to coat. Allow excess batter to drip off before transferring the chicken to the breadcrumbs.
- Transfer the chicken to the toasted panko breadcrumbs and press down firmly to coat all sides with breadcrumbs.
- Follow prefer baking method.
Oven method
- Preheat the oven to 400 degrees. Arrange a wire rack on a large baking sheet (this is optional, but it ensures the chicken gets crispy on the bottom, not soggy).
- Arrange the battered chicken fingers on the wire rack on the baking sheet. Spray the chicken with cooking oil spray and sprinkle with salt.
- Bake for 15 to 20 minutes, until golden, crispy, and cooked through (165 degrees on a meat thermometer).
Air fryer method
- Preheat the air fryer to 400 degrees.
- Arrange the chicken fingers on a plate and spray the surface with cooking spray.
- Transfer the chicken fingers to the air fryer, in a single layer, sprayed side down. Spray the chicken with cooking spray and season the top with salt.
- Air fry for 8 minutes.
- Flip and air fry for 3 to 5 more minutes, until golden, crispy, and cooked through (165 degrees on a meat thermometer).