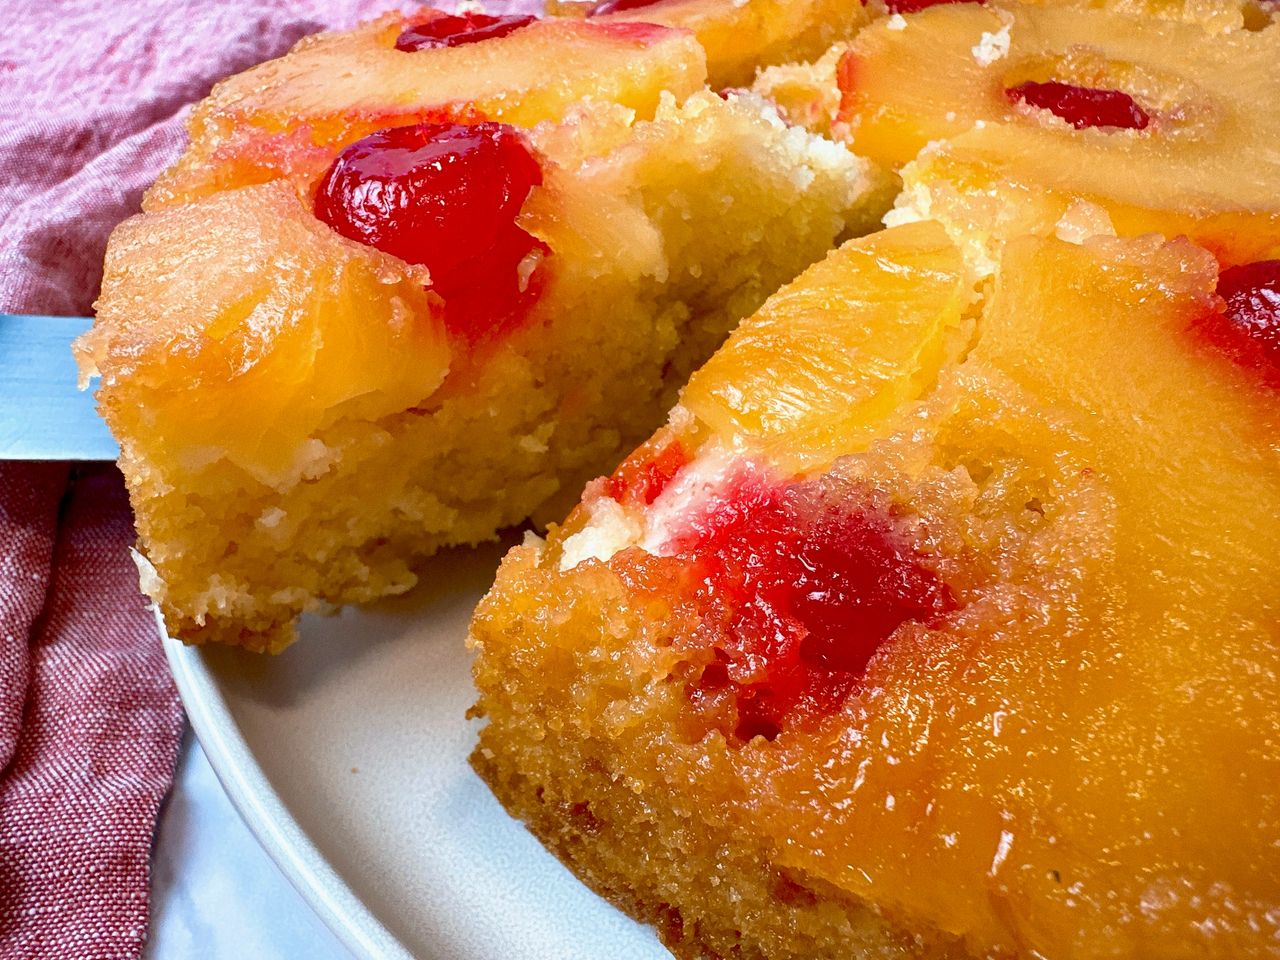
Pineapple Upside Down Cake

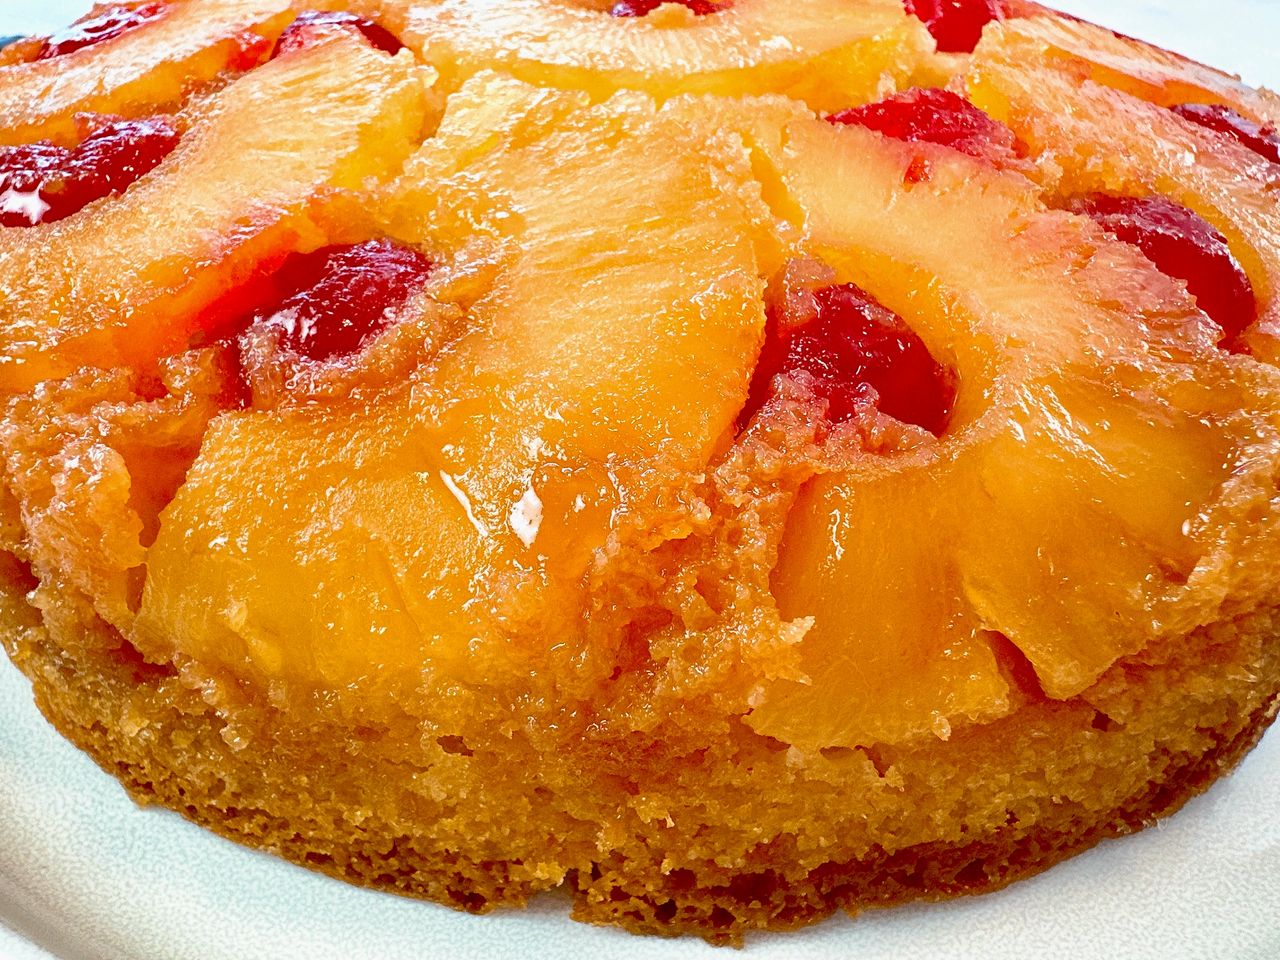
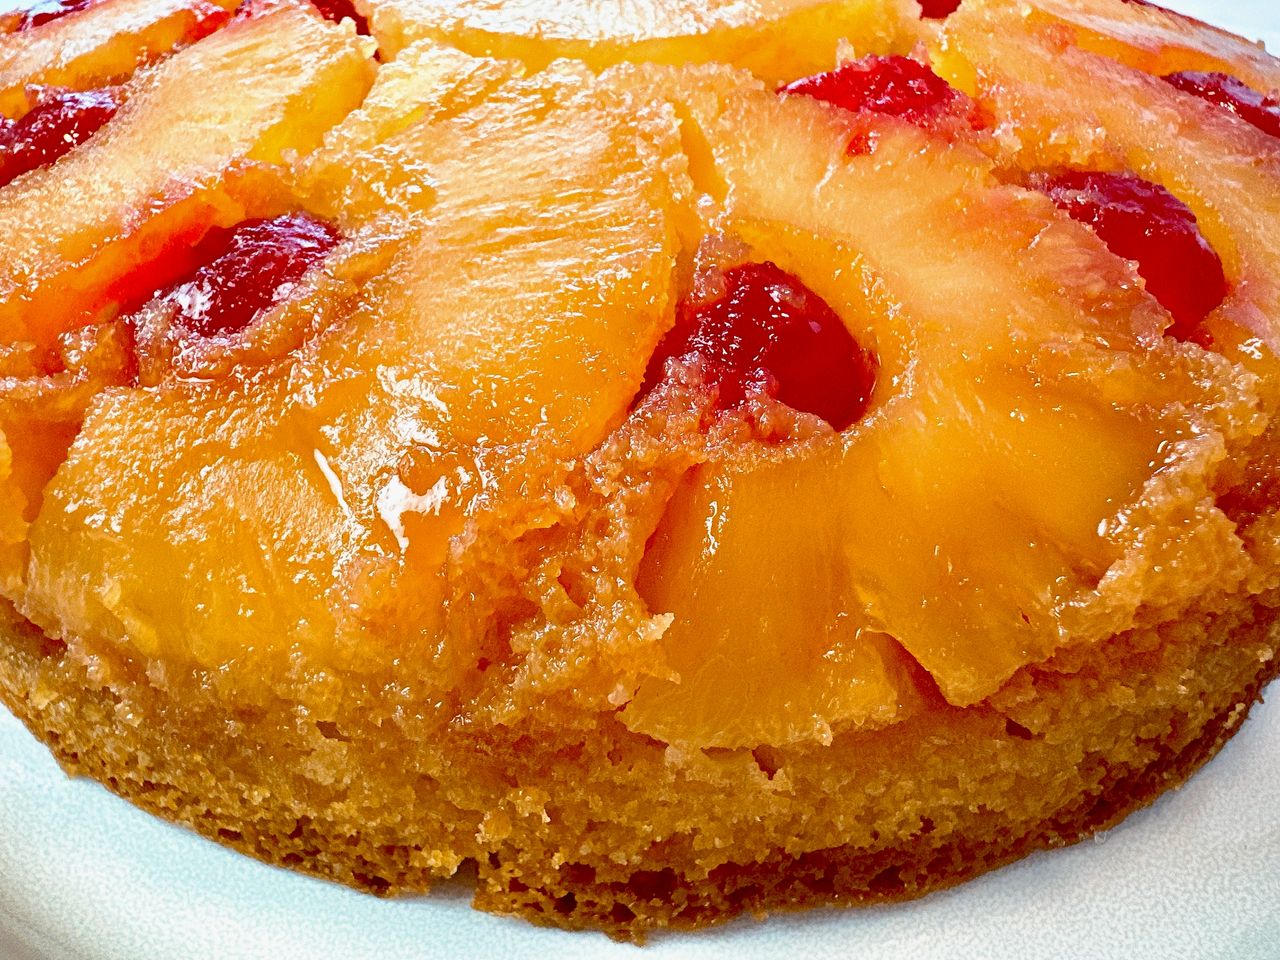
This cherished dessert features soft, buttery cake, crowned with caramelized pineapple and cherries. As the cake bakes, the juices from the fruit seep into the batter, keeping it moist and sweet, while guaranteeing a tender crumb. And since this retro cake is made with pantry staples (including canned pineapple and bottled cherries), you can enjoy it all year long.
This recipe was written for the Arizona Republic.
What is the origin of pineapple upside down cake? Pineapple upside down cake dates back hundreds of years and was traditionally made in a cast-iron skillet. Since stoves were historically unreliable, the skillet guaranteed a successful outcome, especially when flipping to reveal the jeweled top. In the early 1900’s, James Dole crammed store shelves with canned pineapple, and pineapple upside down cake was born.
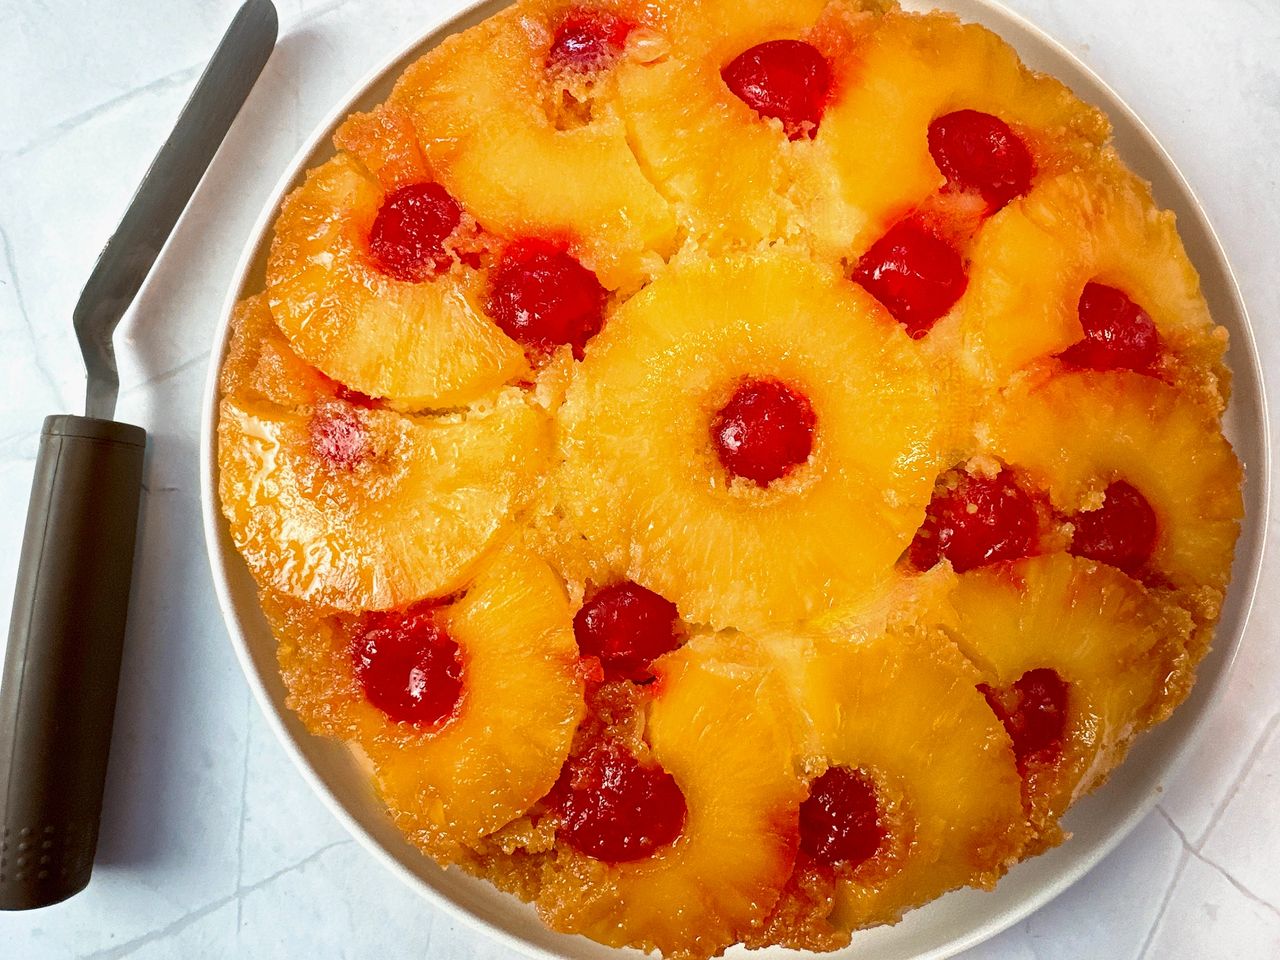
Double the layers means double the fun. There are two layers in this pineapple upside down cake – a buttery topping of pineapple, cherries, and brown sugar, and a vanilla-scented, pineapple-studded cake. The fruit goes in the pan first, and the batter is poured over top. Once baked, the cake is inverted and the glossy fruit shines. Here’s what you need to make this pineapple upside down cake:
Canned pineapple. You need one 20-ounce can of pineapple slices in juice (not syrup) for this recipe. Make sure to purchase the rings, not pineapple chunks. We also use 1/4 cup of the pineapple juice from the can to moisten the batter.
Maraschino cherries. Pineapple upside down cake wouldn’t be complete without the burst of color from maraschino cherries. Maraschino cherries are sweetened, preserved cherries and they add tremendous sweetness to the topping.
Butter. We use butter in two places in this recipe – in the topping and the batter. In the topping, the butter melts with the brown sugar to create a caramelized glaze for the fruit. In the batter, butter ensures a moist cake crumb. I prefer unsalted butter in baking, but if you only have salted butter, eliminate the 1/4 teaspoon of salt from the batter.
Sugar. Two types of sugar are used in this cake – brown sugar in the topping and granulated in the batter. Use light brown sugar in the topping for the best color (dark brown sugar is, well, dark). We opt for granulated sugar in the batter because it sweetens and tenderizes the cake while keeping it light and fluffy.
All-purpose flour. Your favorite brand of all-purpose flour will work here. If you only have cake flour, add 3 tablespoons (on top of the 1 1/2 cups) to replace the all-purpose flour. Why? Cake flour is made from soft wheat flour and has a lower protein content than all-purpose flour, so you’ll need to add a little more cake flour to make up for the difference in volume. In general, for every cup of all-purpose flour, you need 1 cup plus 2 tablespoons of cake flour.
Leaving agents. Baking powder and baking soda are used to add lift to the batter while baking. We need both leavening agents to ensure the cake rises under the heavy fruit topping.
Salt. A little salt balances the sweetness of the sugars and fruit. If you’re using salted butter, eliminate the extra salt in the batter.
Milk. Milk and pineapple juice provide much of the moisture in the batter. I prefer whole milk for its added richness.
Sour cream. The tang of sour cream balances the sweetness of the topping and batter while ensuring you end up with a tender, moist crumb. If desired, you may substitute full-fat plain Greek yogurt.
Vanilla extract. Few things rival a vanilla-infused cake batter. I recommend using pure vanilla extract for its supreme flavor
Eggs. Two large eggs in the batter are used to create a tender cake. Use room temperature eggs; they incorporate better into the batter.
How should you store leftover pineapple upside down cake? I highly doubt you’ll have leftovers, but if you do, refrigerate the cake in an airtight container for up to 4 days, or freeze up to 1 month.
Pineapple Upside Down Cake
Ingredients
For the Topping
- 20- ounce can pineapple slices in juice, not syrup; reserve 1/4 cup juice and leftover pineapple slices for the batter
- 12-18 maraschino cherries
- 4 tablespoons unsalted butter, melted
- 1/2 cup packed light brown sugar
For the Cake Batter
- 2 cups all-purpose flour
- 1 teaspoon baking powder
- 1/4 teaspoon baking soda
- 1/4 teaspoon salt
- 1/3 cup milk, preferably whole milk
- 1/4 cup pineapple juice, reserved from can
- 1/4 cup sour cream, or full-fat plain Greek yogurt
- 2 teaspoons pure vanilla extract
- 8 tablespoons unsalted butter, softened to room temperature
- 3/4 cup granulated sugar
- 2 large eggs, room temperature
Instructions
- Preheat the oven to 350 degrees.
- Arrange paper towels on a flat surface or large baking sheet. Place the pineapple slices and cherries on the paper towels and pat dry. Set aside.
- Pour the melted butter into the bottom of 9-inch round cake pan. Brush the butter up the sides of the pan.
- Sprinkle the brown sugar over the butter and spread out in an even layer. Arrange the pineapple slices over the brown sugar – one full round in the middle and half circles around the center piece. I used 11 half slices around the center round piece.
- Arrange the cherries in the pineapple slices. Press the pineapple and cherries down with a spatula to ensure they press into the sugar (this ensures you get vibrant red and yellow color on top).
- To make the batter, in a medium bowl, whisk together the flour, baking powder, baking soda, and salt.
- In a separate bowl, whisk together the milk, sour cream, reserved pineapple juice, and vanilla.
- In a mixing bowl fitted with the paddle attachment, beat the butter and granulated sugar together until light and fluffy.
- Beat in the eggs, one at a time. Beat in 1/3 of the milk mixture and then 1/3 of the flour mixture. Repeat 2 more times until everything is blended. Finely chop the leftover pineapple pieces and fold them into the batter.
- Pour the batter over the pineapple slices and cherries and smooth the surface.
- Bake for 30 minutes. Loosely cover with foil and bake for 12 to 15 more minutes, until a wooden pick comes out clean, or with little moist bits clinging to it.
- Cool the cake in the pan, on a wire rack, for 20 minutes.
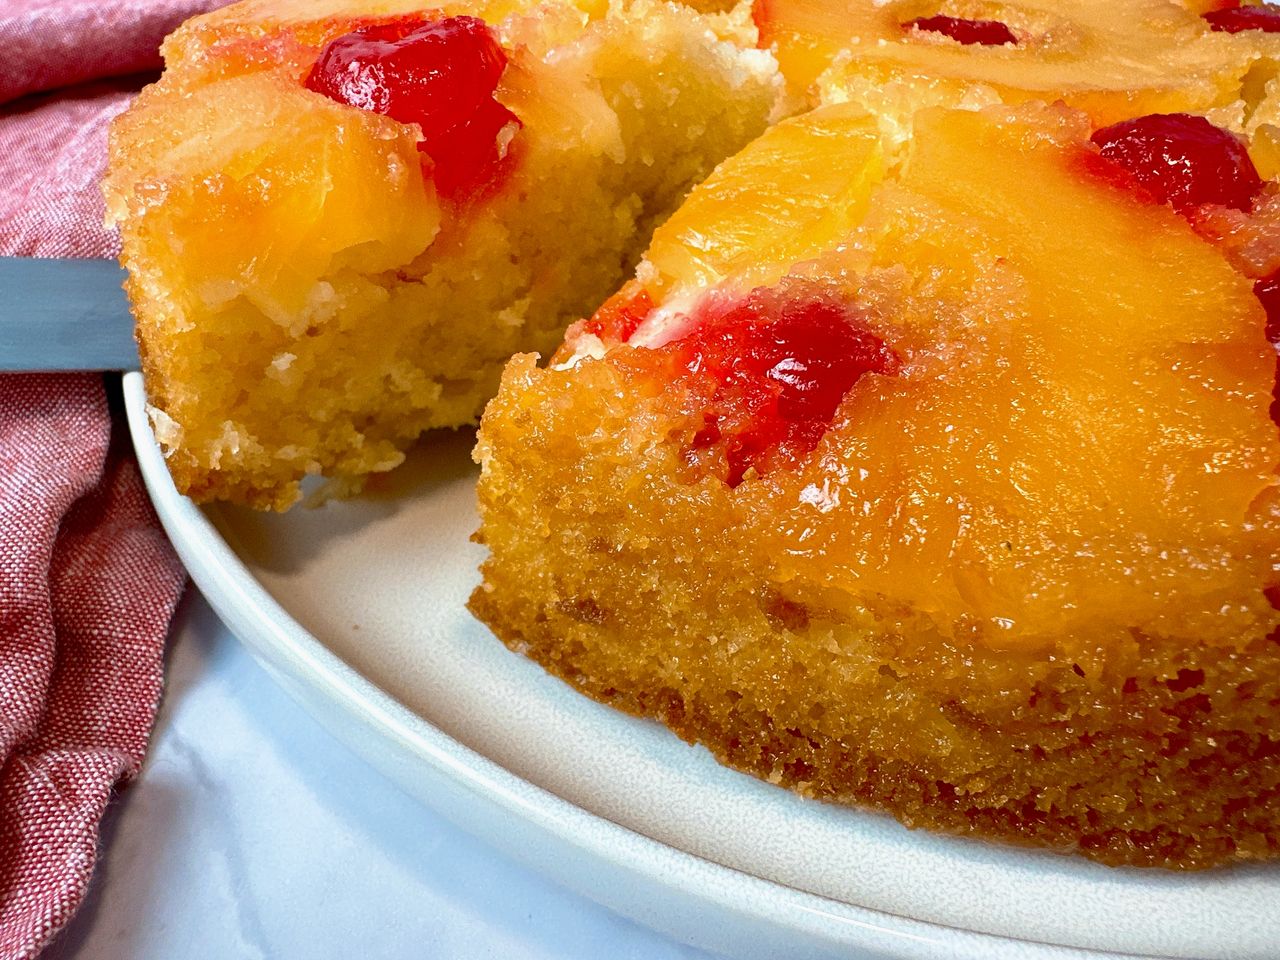
- Run a butter knife or offset spatula around the edges of the pan. Place a plate over the cake pan and flip. If the cake doesn’t release freely, gently tap the bottom of the pan.
- Cool completely before serving.
- Refrigerate leftovers in an airtight container for up to 4 days, or freeze for up to 1 month.